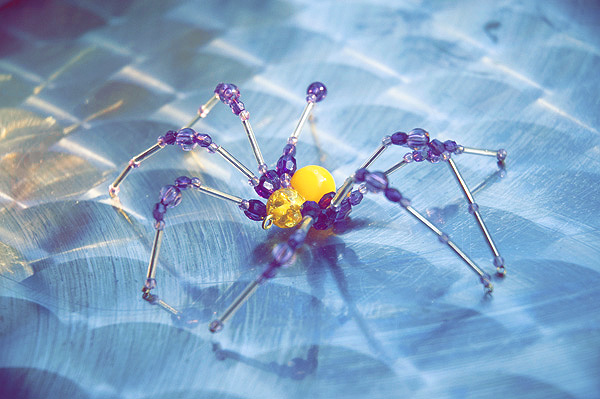
Spider? I hardly know her
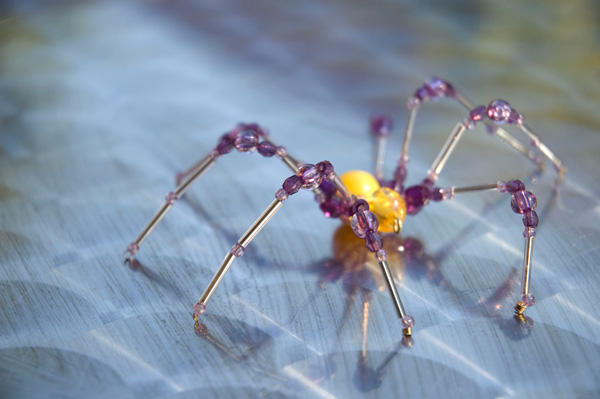
I don’t usually decorate for Halloween. I love Halloween, and I love holiday decorating, but Halloween decorating doesn’t really suit my style. When I decorate for a season, it’s to invite more beauty and sparkle into my home, not so I can pee my pants every time I walk into the living room and see a scarecrow standing there pretending to be an intruder that somehow has silently entered the house while I was in the kitchen and is totally about to murder me in the face and take our TV. To me, that’s not what decorating is for. I get enough of that crap when leave my dress form out.
But I saw some ugly candle holders in the craft store the other day. They were shaped kind of like dafter-than-average spiders, and although I didn’t care for them, there was something about their shape that made me think, I bet you could make a really pretty spider out of beads!
Believe it or not, I was not the first person to have that idea. Which is lucky, because the first spider I made was so wonky it couldn’t even stand up properly. Imagine—it has eight legs and it can’t stand up. It was cute as hell, in a cross-eyed-and-hopeless sort of way. But it wasn’t what I had in mind.
As always, faced with my imminent defeat, I turned to you, Internet, and looked at every picture of a beaded spider I could find. I read everything you had to say on the subject. I studied up.
And now I know how to make a proper, pretty spider. And I love them! They’re so easy to make, a child could do it (although you should know that I have no idea what a child can and can’t do). Here, you try!
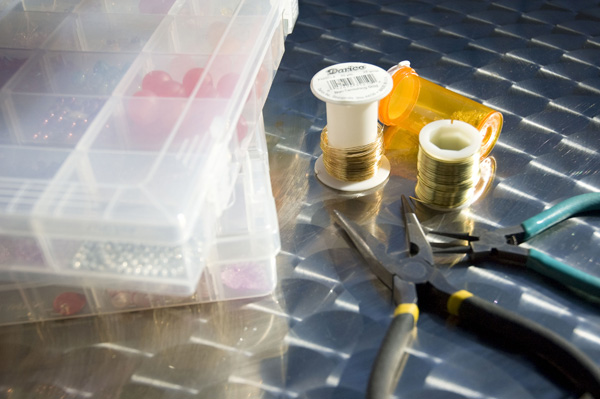
Materials for a Beaded Spider (refer to Fig. 1, below):
- One large focal bead [A] and one slightly smaller one [B] to coordinate. Any beads between 3/8″ and 3/4″ can work, as long as you like the way they look together.
- Bugle beads [C]. Depending on the size you use and how long you want you spider’s legs, the quantity might vary, but I only needed 20 1/2″-ish silver bugle beads to make the spider in the photo.
- Small seed beads [D]. Quantity may also vary; the spider in the photo uses 60.
- Eight each of two kinds of medium beads for the joints in the middle of the legs [E] and the joints near the body [F]. About 1/4″ is a good size to shoot for.
- 24 medium beads [G] smaller than your E and F beads but larger than your seed beads.
- Heavy wire (about 20 gauge) [H], and lighter wire (24—28 gauge) [I], ideally in the same tone.
- Tools: wire cutters and round-nosed pliers.
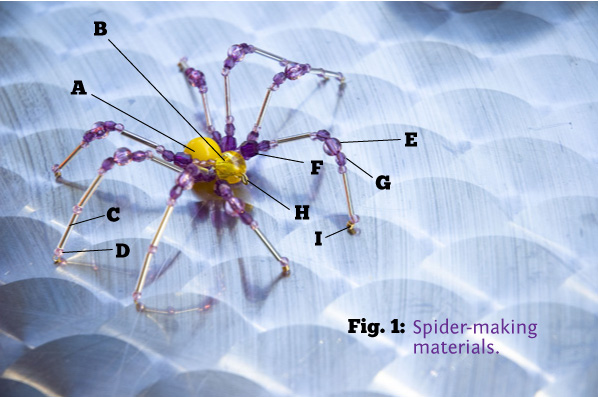
Use any combination of colors and materials that appeals to you. I’ve labeled all the items in the photo so that you can get a sense of how the scale of each item works together, but that doesn’t mean you have to arrange your beads the same way I did! Make your spider look like your spider. If you make it look like my spider, I’ll sue.
![Cut a short piece of wire [H] Cut a short piece of wire [H]](http://knucklesalad.com/wp-content/uploads/2011/10/Spider_2885.jpg)
First, cut a short piece of your heavy wire [H]. It only needs to be long enough to string your two focal beads on and make a loop at each end, so 2–3″ should be plenty.
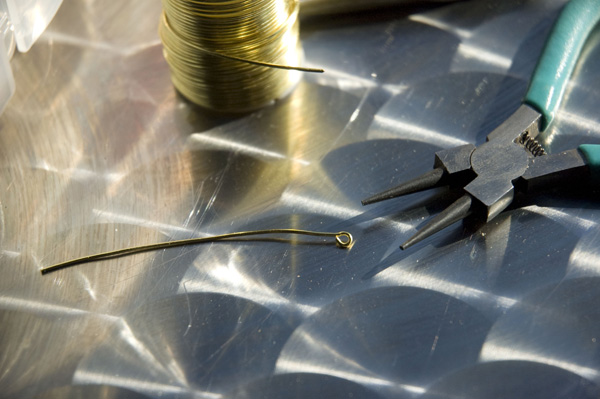
With your round-nosed pliers, grasp one tip of the wire and twist it downward to make a loop.
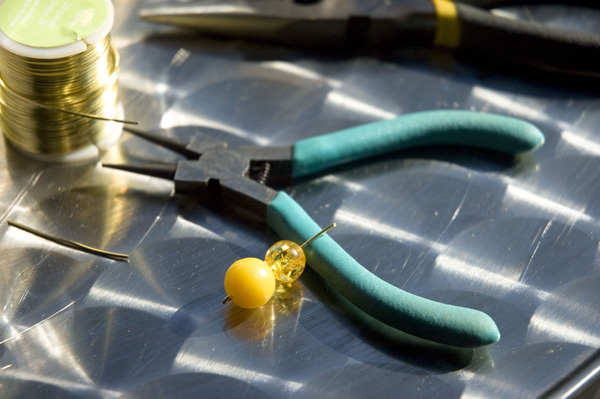
String your focal beads. If necessary, trim the wire so there’s only half an inch left.
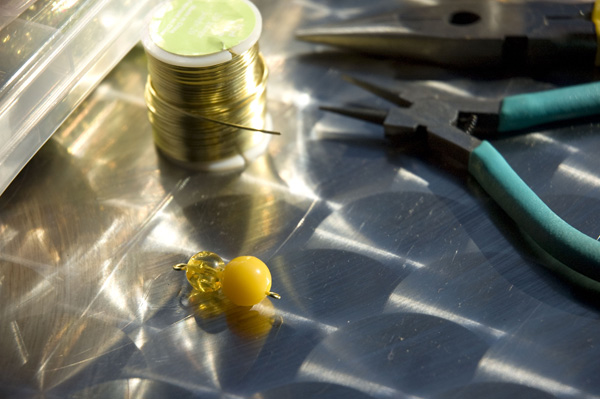
Bend the remaining half-inch of wire into another loop. The beads should now be trapped on the wire, although it’s fine if they’ve got a little extra space to slide around. There! Spider-body!

Cut four long lengths of lightweight [I] wire. Ten inches should be enough, unless you’re using especially large or long beads for your legs.
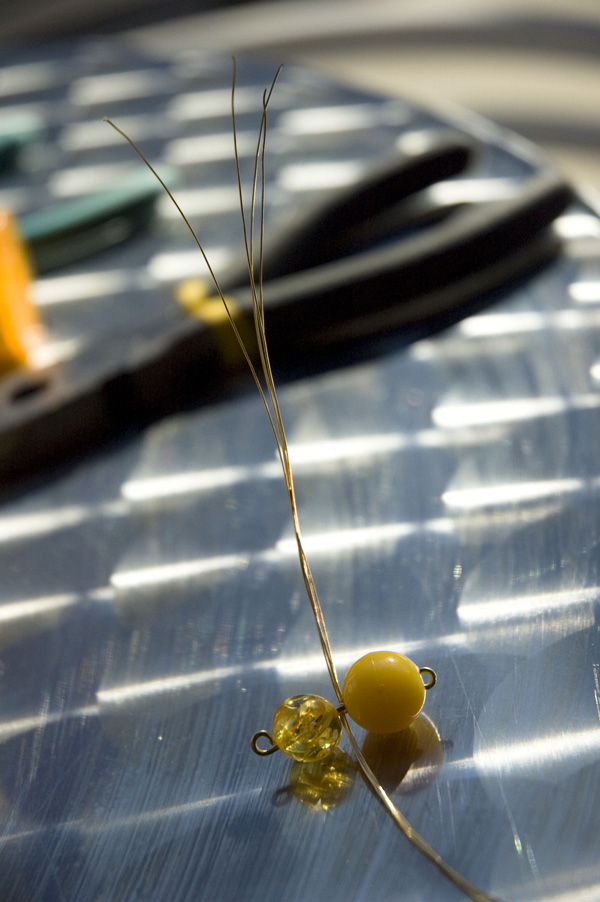
Lay your spider’s body across the center of four lengths of wire. Holding the four wires as if they were one, wrap all four around the middle of the spider’s body so that they’re secured between the two large beads.
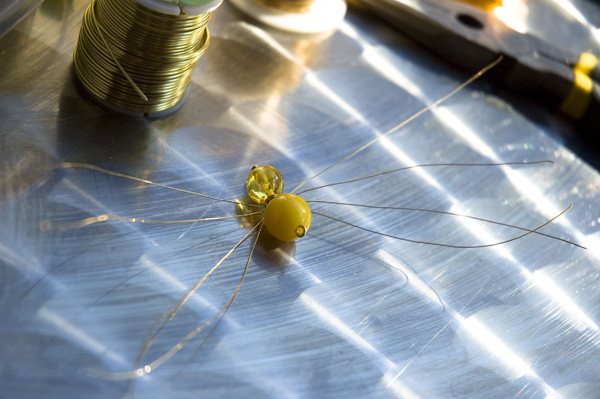
Wrap the long wires around a few more times so that they’re secure, and then spread them apart a bit. There, done! There’s your spider! Ha, just kidding. It’ll look even better when the legs are beaded.
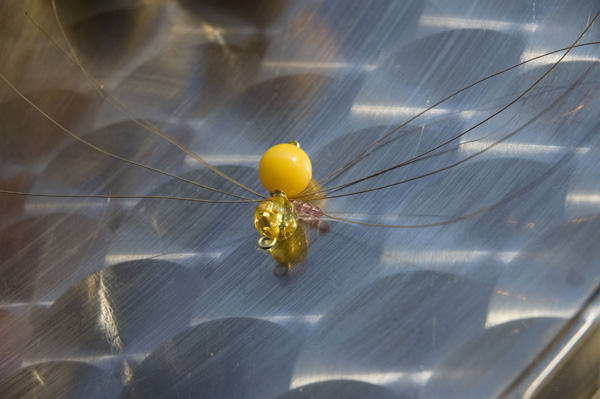
Start with your seed beads [D]. I strung three of them first.
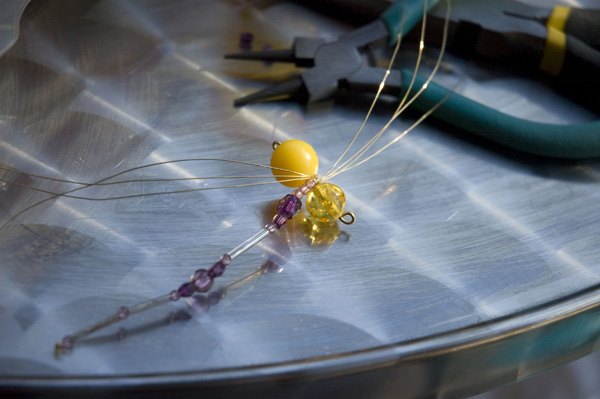
Experiment to find out what arrangement of beads makes your spider’s legs look the best. Just remember that fat leg-joints look the most realistic.
To make one exactly like the picture, after you’ve strung your three seed beads, add a medium [F] bead and a [G] bead, another [D] seed bead, a [C] bugle bead, and yet another [D] seed bead. Each leg segment is comprised of a bugle bead bordered by seed beads, so you’ve made a joint and one leg segment.
Now create the middle joint by placing a [G] bead on either side of one of your [E] beads. Add two more leg segments ([D][C][D][C][D]).
Take a hard look at this leg. Try bending it at the joints and imagining it as part of your spider, bearing in mind that it will of course look a lot more awesome when you’ve made all the legs. (Notice how much less awesome this spider looks in the picture above than it does in the finished photos!)
If you’re happy with your beading arrangement, use your round-nose pliers to twist the wire up from the end into a tiny coil, so that your beads won’t fall off, and move on to the next leg.
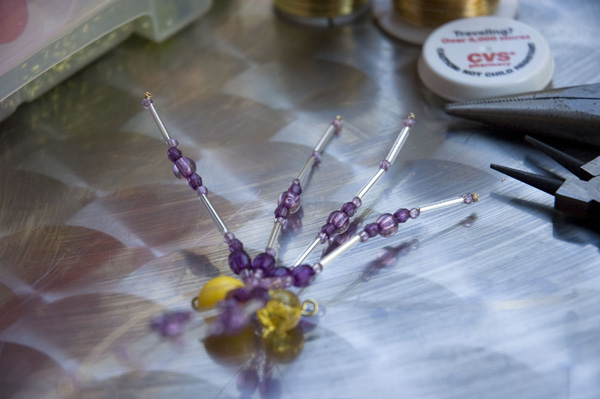
The front and back legs look even more realistic when they’re slightly shorter than the other legs. An easy way to do that is by omitting the final leg segment ([C][D]) before twisting the end of the wire on the two front and two back legs.
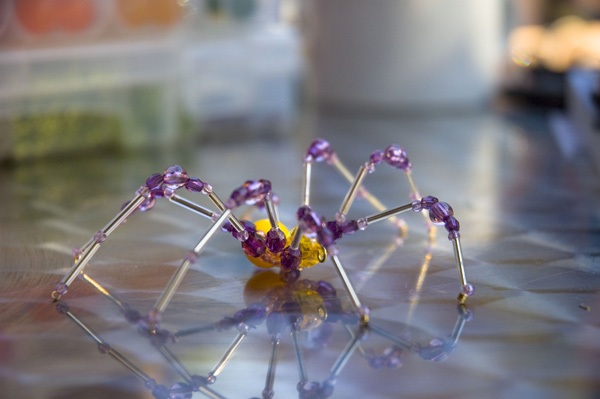
Once all eight legs are beaded and fastened with coils, just bend the joints and position the legs, and your spider will come to life in all its creepy-glam glory!
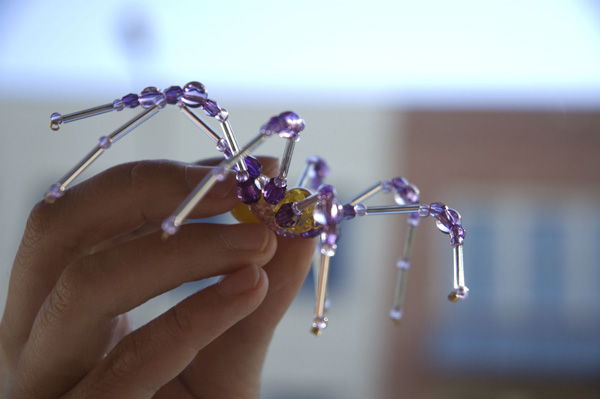
Hang your spider from a window and let it catch the light, or just arrange a few on a table for your own chic and lovely version of festive horror.

