Semi-Disposable Potluck pedestals
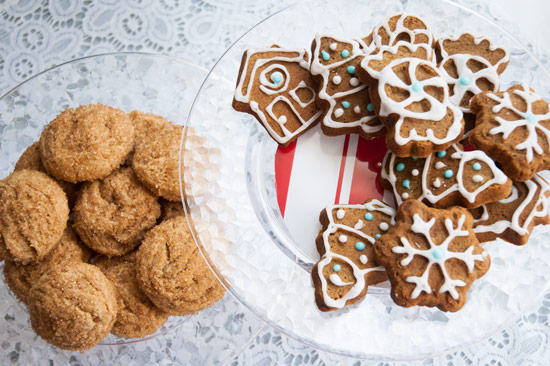
You’ve just taken care to prepare a beautiful dish/dip/dessert for a party/potluck/present. You’re very proud! Now it’s time to get it to its destination. Do you…
- (a) Situate it beautifully in the perfect serving piece, despite the inherent travel-related dangers.
- (b) Pack it carefully in your specialty travel casserole/cake/cupcake carrier, despite the risk of never seeing your specialty travel casserole/cake/cupcake carrier again.
- (c) Wrap it all in paper plates and plastic wrap, despite the way this presentation cheapens your lovingly-prepared treats.
- (d) Quickly knock together a charming disposable pedestal dish for mere pennies, in whatever size best suits it, cleverly matching it to any wrapped gifts you might also be bringing.
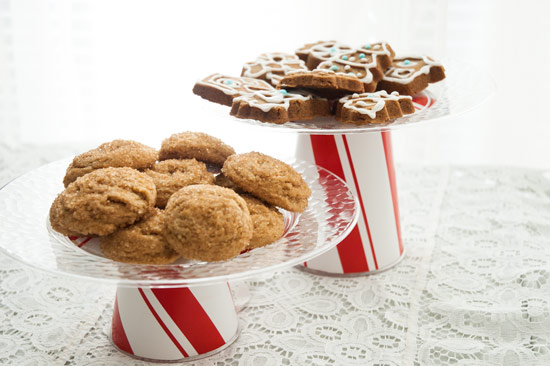
Did you choose d? You were supposed to choose d. If you didn’t choose d, I bet you chose b. I bet you’ve got a really nice specialty travel casserole/cake/cupcake carrier that you love to use. I’m glad for you!
But still…sometimes you have to take stuff to places you don’t trust completely. To a school, maybe. Or an office party. Someplace that has a lot of plates and things going around. And you never know who might take your awesome carrier home.
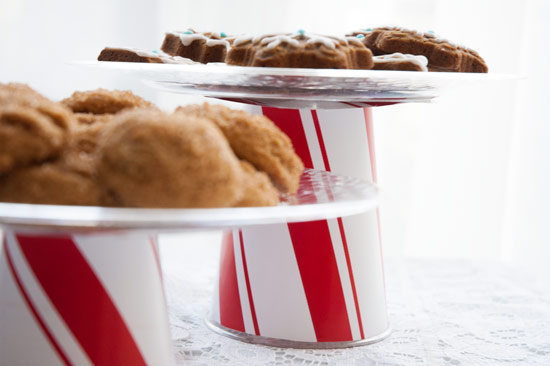
Those are the times you might be better off bringing something you don’t need returned to you. Those are the times you need little holiday pedestal plates, as easy as cutting and gluing paper!
Seriously—they’re made of plastic plates, Solo cups and wrapping paper. They take like ten minutes.
You need:
- Clear plastic plate
- Clear plastic cup
- Wrapping paper
- Pencil
- Scissors
- Glue (hot glue works best because it sets quickly)
Trace and cut a piece of wrapping paper to fit under the plate. Glue it to the bottom of the plate.
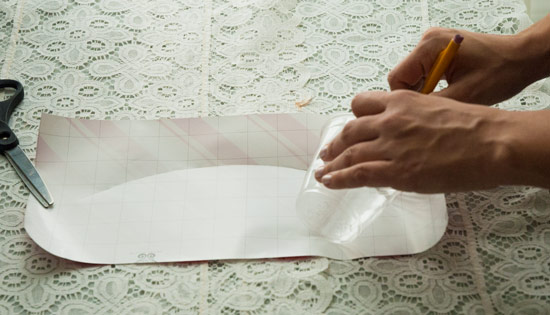
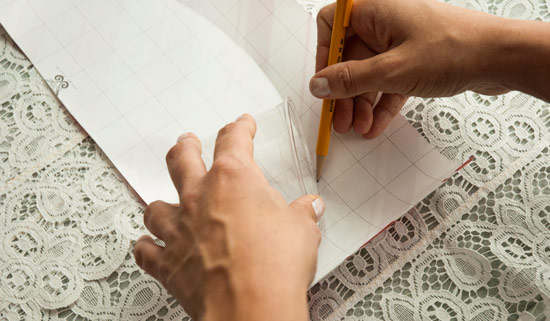
Roll the cup along another piece of paper, tracing along the rim with a pencil as you go. The top of the cup will roll farther than the bottom, creating a perfect arc. Cut along this line.
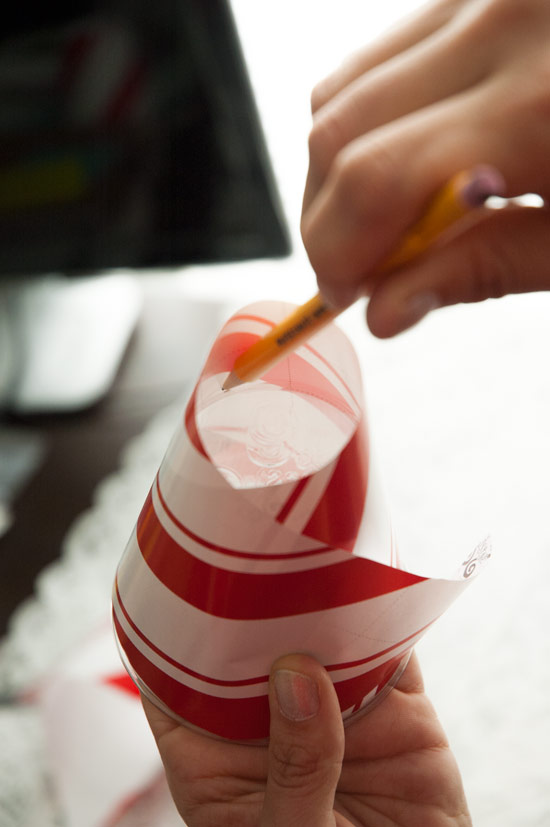
Wrap the paper around the cup with the curved side at the top. Trace around the bottom of the cup; remove the paper and cut along that line. Glue the paper to the cup. (You can tape it if you’d rather.)
Place the plate face-down and glue the bottom of the cup securely to the center of it. When dry, flip it over and fill it up.
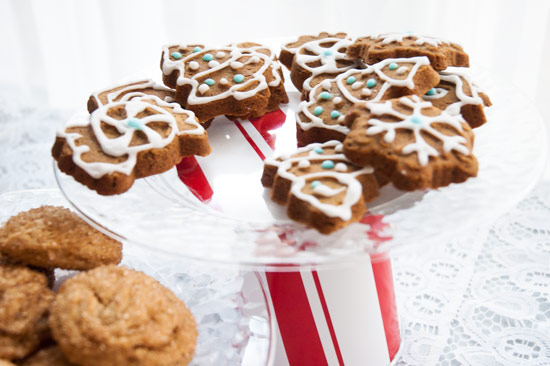
Wrap with plastic wrap to secure during transport and you’re on your way!
