Easter? Don’t worry, I’ll bring the hats
I was very excited to see John when he woke up this morning.
“Good morning! Guess what!” I shouted.
“What?” he muttered, groggy but intrigued.
“You know how I wasn’t sure what to take over to Jenny’s for Easter dinner, because Zack and Jen are bringing wine, and my mom is in charge of dessert? Well! I figured out something I could make!”
“Oh, yeah?”
“Yeah!” I held up two half-finished cardboard hats and braced myself for his exuberant approval.
John stared at them. “What?” he said.
“I’m making little hats! To fill with candy!” I explained.
“Why?”
“For Easter!”
He looked at me, then back at the hats. “This is the craziest thing you’ve ever done.”
Perplexed by his reaction, I attempted to point out what he was obviously overlooking. “No! Look! They’re little tiny hats!”
“Let me get this straight,” he said slowly, rubbing his temples. “You got up early this morning after a late night out and said to yourself, ‘Hm, someone is already bringing wine, so I know what I’ll do, I’ll make a bunch of little hats to take to the party’?”
Reluctantly, I began to see his point. But I continued, undaunted, with my little tiny Easter bunny hats.
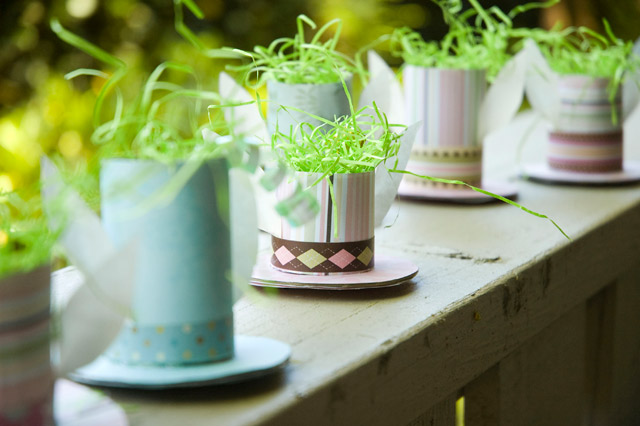
 This is exactly my kind of craft project: it’s quick, it’s foolproof, it uses only materials I already keep on hand (a sheet of cardboard, a paper towel tube, pretty paper, and glue), and it’s full of candy. That’s pretty much all I ask. Besides, it turned out really, really cute. (John thinks so, too. I swear.)
Here are the super easy instructions:
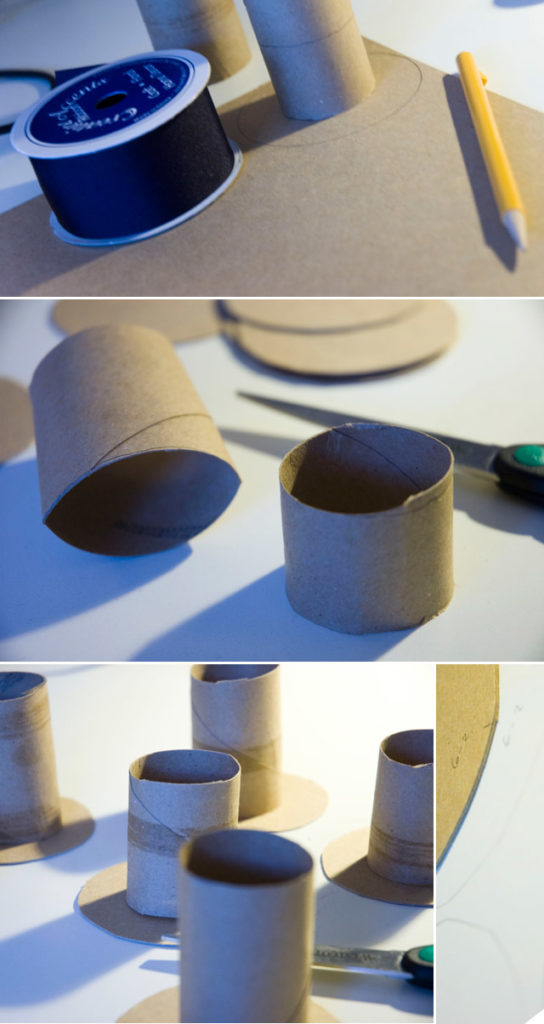
- Cut a cardboard tube into sections as high as you want your little hats. (You can cut it with scissors, then just plump the tube back up to its ideal roundness.) Then cut a cardboard circle for each one to form the brim.
- Cut two pieces of patterned paper for each side of the circle, and a rectangle as wide as the section of tube and long enough to wrap all the way around it and overlap at the end.
- Sandwich the cardboard brim between the two paper circles and glue them down around the edges, then glue the rectangle around the tube.
- Hot-glue the tube to the brim.
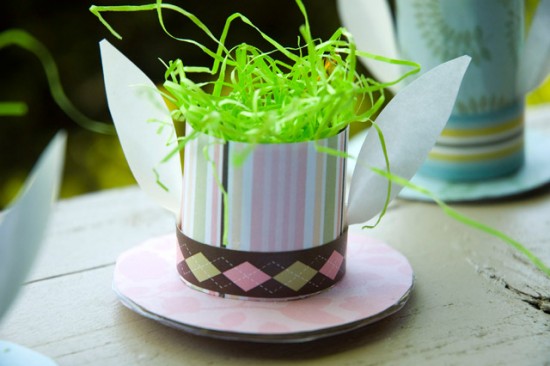
- Cut two bunny ears (long football shapes) from white paper. Fold them in half lengthwise and glue them to each side of the hat.
- Wrap a strip of different paper around the base of the hat so it covers the bottom of the ears, and glue in place. If you want to embellish with little flowers or buttons or anything, now’s a good time!
7. Fill with candy and Easter grass.
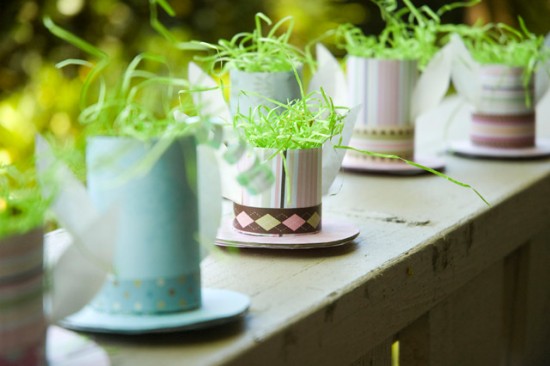
Cute, right? They’re perfect to use as last-minute place settings for the Easter table.
Crazy indeed. Hmph!
Oh, but wait—there’s one more step.
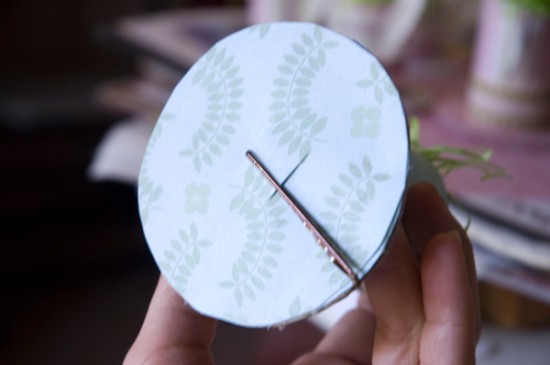
8. Cut two small slits in the paper on the bottom of the hat, then push a bobby pin through.
Why? Because this isn’t just a table decoration—you can also totally wear it right on your head! Just think of all the ridiculous photo ops!
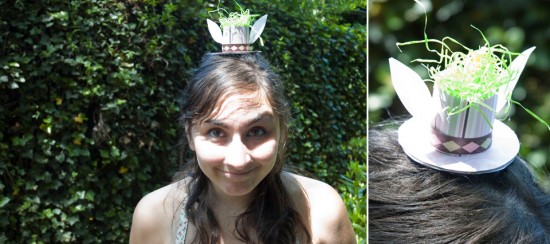
John has come around to the idea of the tiny hats, or at the very least, he seems to think it’s a cute kind of crazy. I’m not sure how the other party guests will feel about them, but I suppose I’ll know soon. Happy Easter, everybody!
