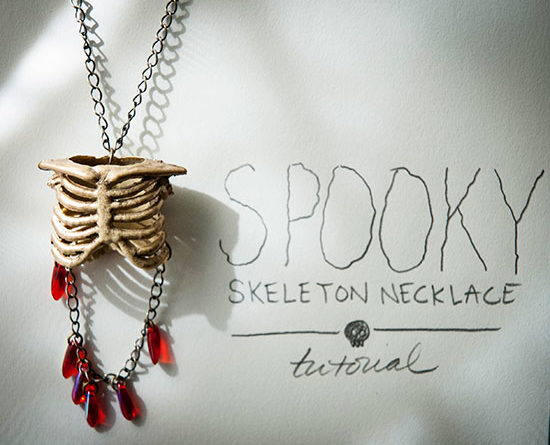
Spooky skeleton necklace
We had some leftover skeletons from a “skeleton garland” we bought at the Dollar Tree a few weeks ago. They’re easy to take apart, so I’ve been working pieces of them into other projects wherever I can. This necklace is my favorite.

It’s kind of creepy, kind of silly, and very easy to make. Those are pretty much the three tenets of my perfect Halloween.

I’ll show you how to make one, too! If you can open and close a jump ring, you can make this necklace in a few minutes. It’s perfect to wear to work in observance of a midweek Halloween, or every day of October if it’s your favorite holiday, or every day of the year if you just like skeletons and blood and stuff.

Materials:
- One little plastic skeleton (the garland from the dollar store comes with four of these on it)
- Five little red drop beads
- Five small and four medium jump rings
- Matching chain and clasp

First, detach the ribcage from the spine. If you have these particular skeletons, there are two little pegs on the spine that poke into holes in the back of the ribcage, so you can pop these right out. Then twist off the arms at the shoulders so you have just the ribcage.
If you want to, you can paint the ribcage next, but that’s not really necessary. I shot mine with a very light coat of metallic gold spray paint, but not enough to totally obscure the original paint job, which gave it dimension.

Cut a four-inch piece of chain.

Open each small jump ring and thread a bead onto it. This may be easier or tougher depending on whether you’re using the same kind of bead I used, but the goal is to make the smallest possible loop at the top so you can attach it to your 4″ length of chain.

Attach your beads to the chain at random intervals.

Attach two larger jump rings to either end of the chain. (I attached one of my beads directly to one of these, as you can see, instead of to the chain, just so it could be higher up.) Attach these larger jump rings to the back of the ribcage by wrapping them around the lowest possible rib on each side—that is, the first rib from the bottom with a completely enclosed space above it. In the case of this skeleton, that’s the third rib.

Use the top hole in the back of the ribcage to attach another large jump ring. You’ll use this ring to string it onto the necklace.
Decide how long you want your necklace, cut some chain to that length, and string the ribcage onto it using the loop you attached to the top. Connect the clasp to one end of the chain and the final large jump ring to the other end to finish your necklace.

Easy, right? Try variations of your own using what you have on hand! For instance, there’s plenty of room inside the ribcage where you can place a large red bead, if you’re game for a little wire-wrapping. Mind you, the necklace hangs best with some extra weight at the bottom, because the plastic skeletons are very lightweight. That’s something to keep in mind when working on your own designs.