Stool Legit
You know that feeling you get when you see something you like but (a) whatever it is, you don’t need one, and (2) it’s not in very good condition anyway, so you leave the store without buying it?
I’m proud to say that I know that feeling, too! I had that feeling a few weeks ago, shortly followed by the feeling of driving back to the store to buy it anyway.
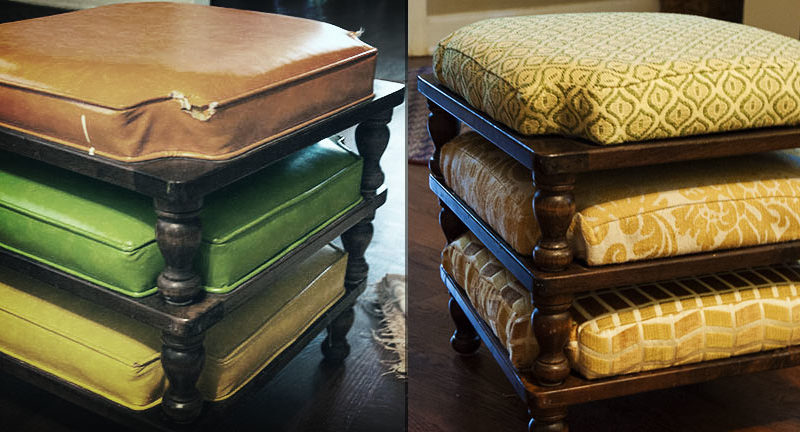
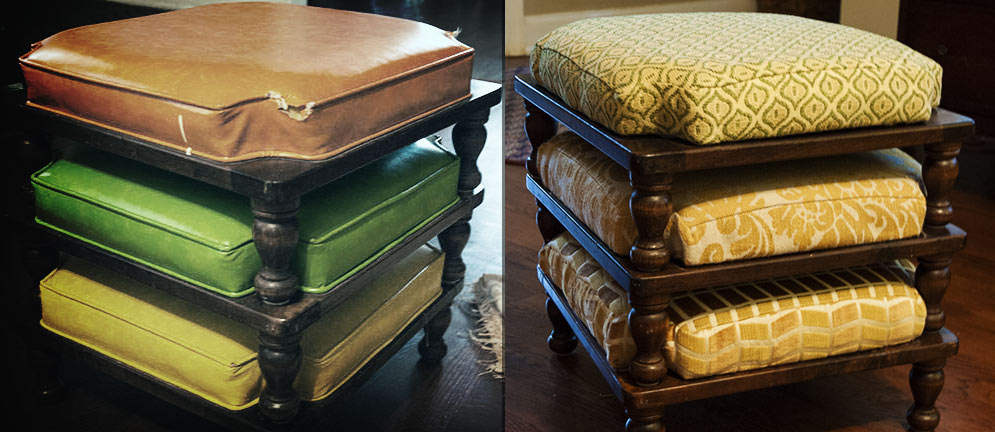
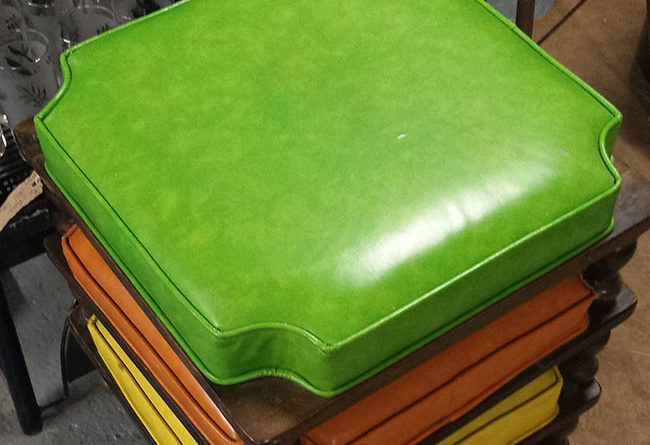
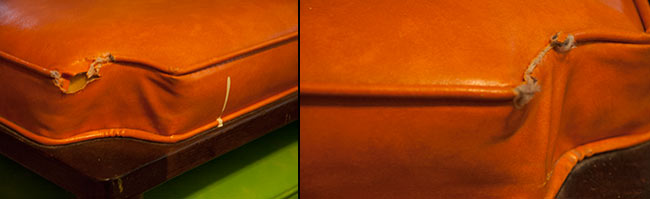
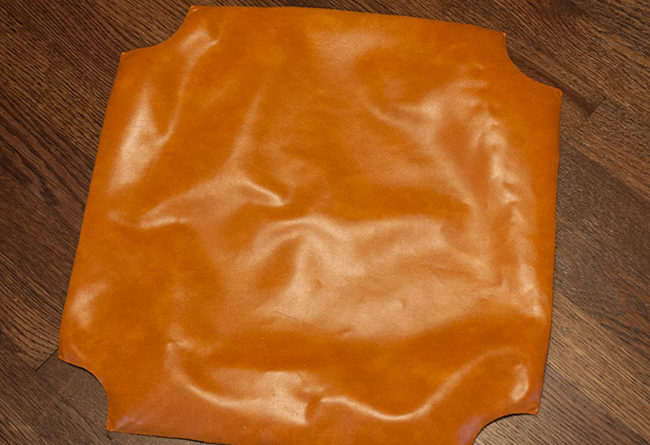
So in the end, what I had was not just a feeling, not just two feelings, but a project: restoring these vintage Ethan Allen stacking stools, with all their scratches and paint stains and ripped-up Naugahyde, into something our non-citrus-colored living room would be happy to have.
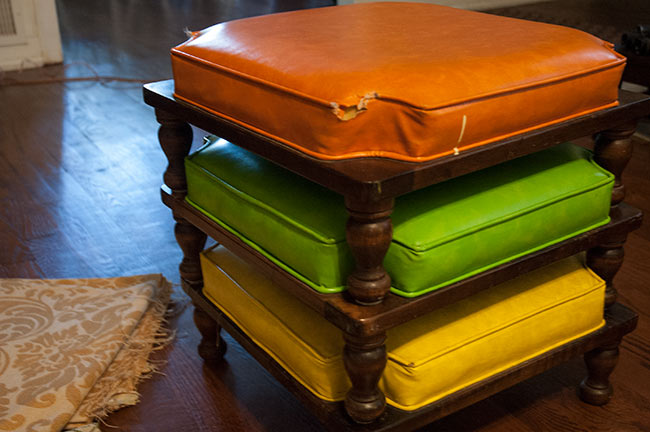
I got right to work, after about two weeks of sitting on them and pretending the ripped edges weren’t scratching my legs. I pried off the hard plastic feet and replaced them with soft felt pads so the stools would stop scratching each other while stacked. I rubbed the old scratches (mostly) out of the wooden frames with the same wood restorer I used on my auction table. I picked out some beautiful fabric remnants, very generously shared by a friend.
And then the fun was over.
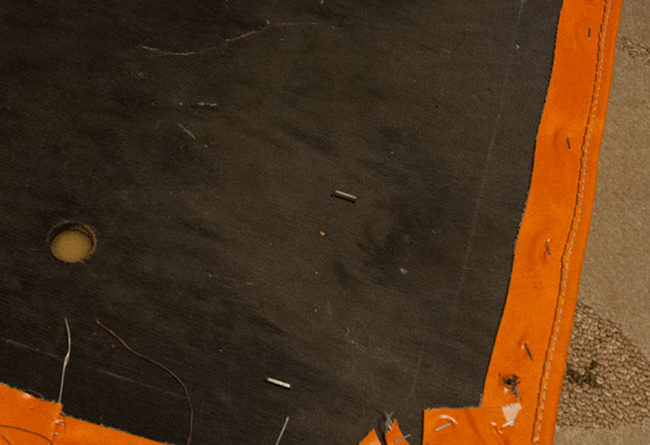
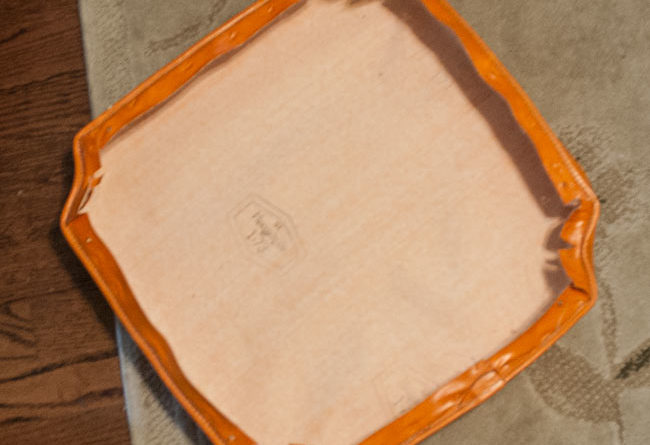
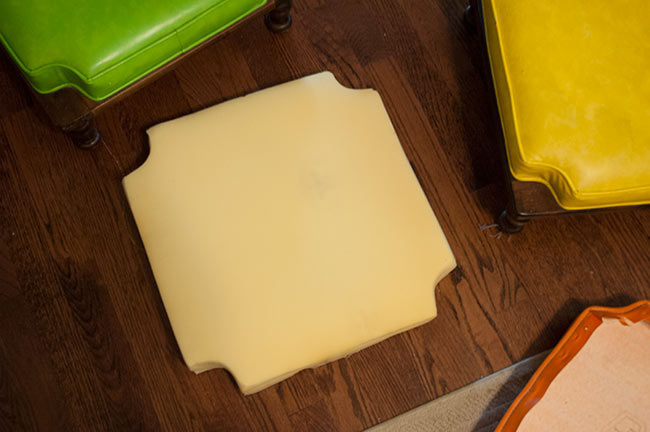
All that remained was the terrifying task of deconstructing and reupholstering the cushions. Determined that I’d have better luck if I jumped in headfirst, I began immediately with step one: giving myself a few more days to sulk and worry.
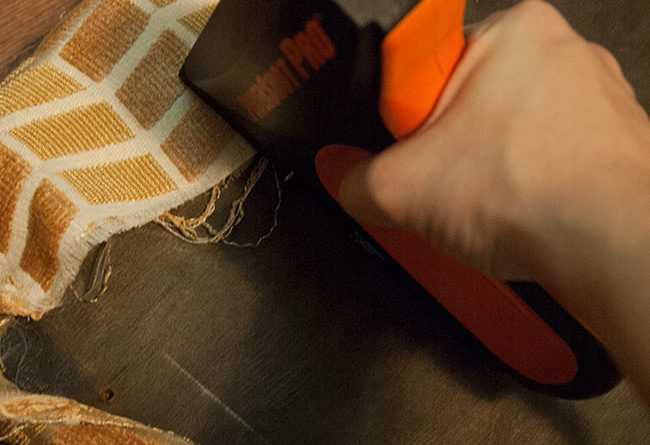
But approached systematically, the upholstering job didn’t turn out to be so bad after all. All it took was a little prying, a little measuring, some tricky pinning, some frustrated seam-ripping, a few fits here and there with just a pinch of throwing everything on the floor and walking away, and here we are.
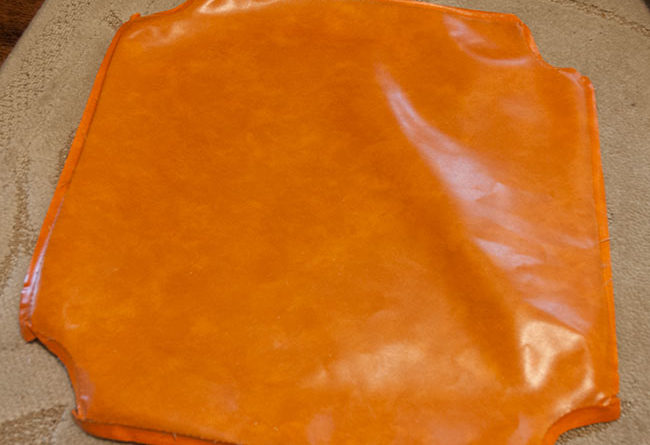
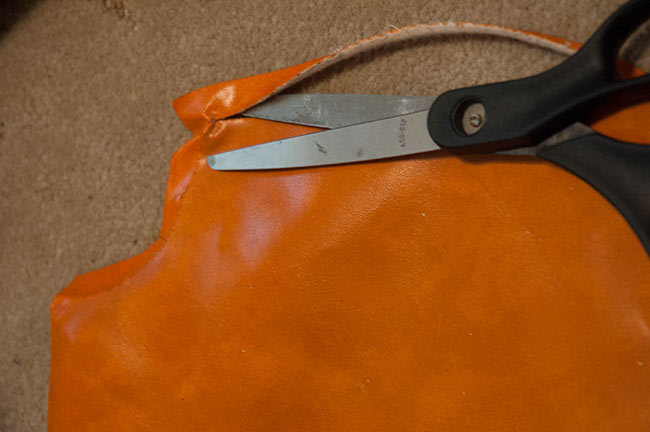
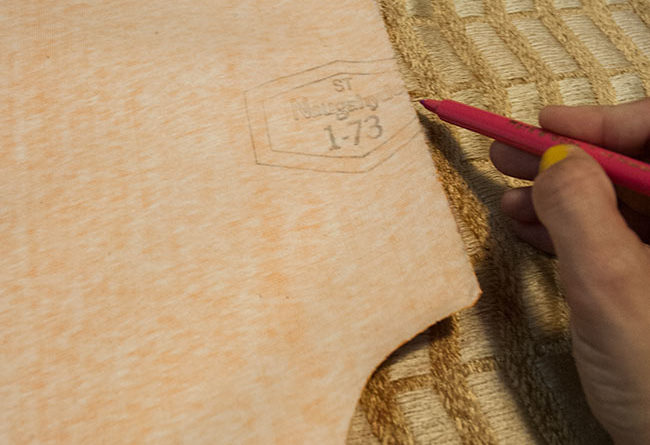

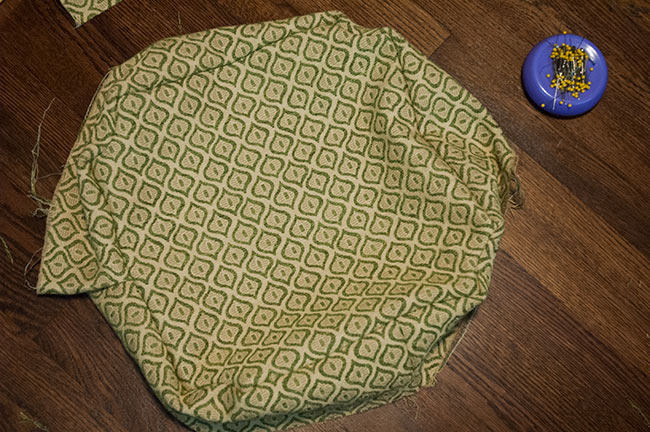
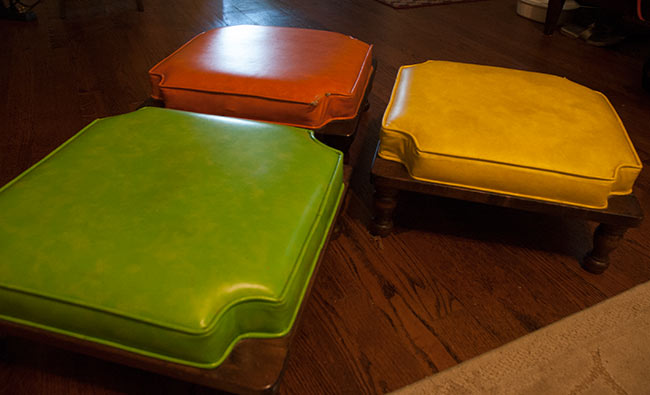
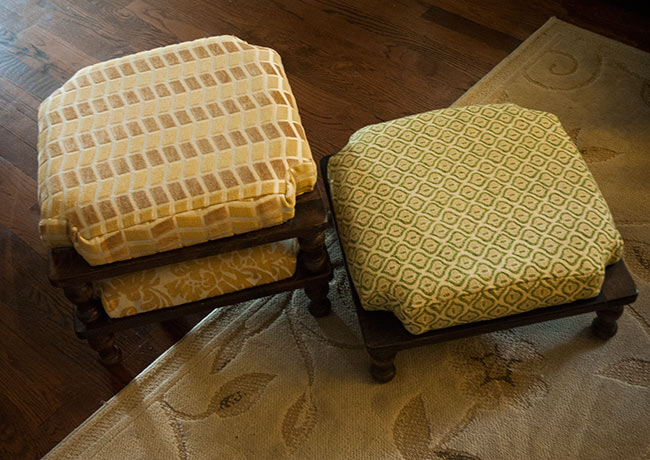
If you have these particular stools (and why wouldn’t you?) then you’re going to want more details on how the hell to sew those insane little concave corners. Damn it, so did I. It took until the third try before I came up with a strategy that worked: Mark a straight line on the wrong side of the long strip, then poke each pin into the marked line on one piece and find the line on the other piece; that’s where you’ll want your pin to poke through the other side. It’s…look, it’s hard to describe, but the idea is that you’ll pin it so that your marks always line up, and then the curve will be correct. If you can figure out what the hell I’m talking about, you’ll be golden, because it worked like a charm. I used this strategy on the green cushion and when I was done, I paraded it around the house like it was the newborn king of the Pride Lands.
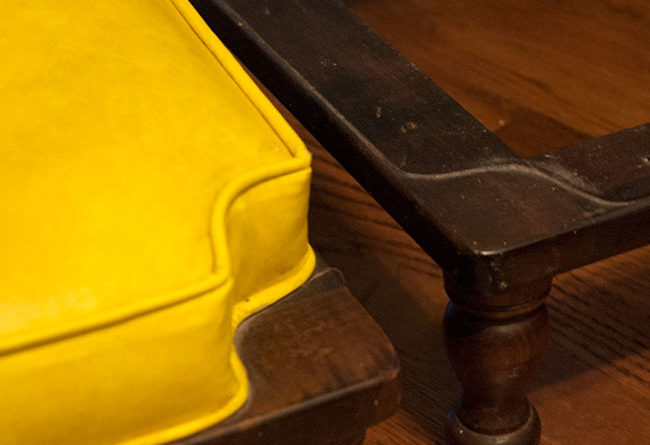
On the other hand, I can tell you from aggravating experience that if you try to make it up as you go along, you’ll probably end up with bunchy corners like the two gold cushions. Acceptable, but very obviously not as good.
Also, I omitted the matching piping along the seams, knowing I lack both the skill and the self-hatred to tackle it. It’s like my English teachers used to say: Keep it simple, idiot.
I didn’t mean to call you an idiot, if that’s what it sounded like. I’m the idiot in this scenario. You’re probably whipping up some custom piping with one hand as you read this. But idiot or not, I’ve got three stumpy little vintage stools that match my living room. Now three people can sit comfortably around the coffee table for meals or games. Or I can stand on two (stools, not people) to reach the ceiling fan. Or somebody can sit on the whole stack and be eye-to-eye with friends on the sofa.
Or that person can get the hell out of the way so the people on the sofa can put their feet up.
That’s what I call versatility.