A vintage end table restored
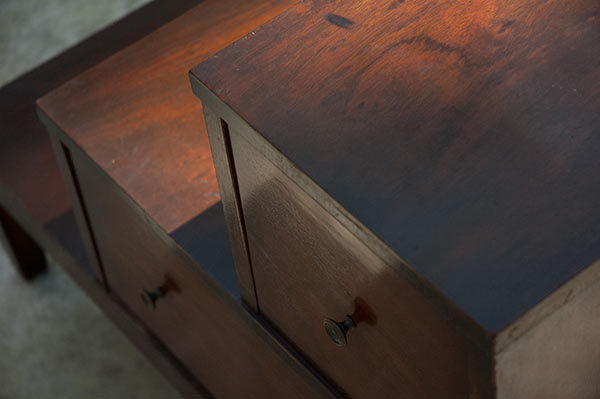
This table is newer than it used to be. That’s not all that’s new around here.
You see, we decided to move when they told us how much the rent was going up. The new house is new only to me; it’s been in John’s family longer than he has. We spent a couple months’ weekends tearing out the old kitchen, refinishing the floors, installing new sinks and locks and getting the place back into inhabitable shape. Then we moved everything we own and long story short, I’ve been too busy to put together new projects to share, but that’s only part of the reason that new content has been sparser than usual on Knuckle Salad.
The other reason is that we forgot to put the kitchen back. (Oops.) We did a bang-up job of removing the old one but now it’s just an empty room with a pretty floor, awaiting the right contractor. So in terms of recipes, it may be several more weeks before we’re back on track.
For now I can offer a few projects related to the move. Take this end table, for instance—the one I mentioned, the one that’s newer now than when I bought it at the auction, to replace the one we didn’t like anymore and which also was broken (hallelujah). The new table had seen better days but I was pretty sure I could sand it, stain it and bring it back to life.
Then came the period of the great floor refinishing, and I learned firsthand what sanding and staining and sealing really involves. The table was ugly but not ugly enough to be worth it.
But while I was researching floor stains, I happened across a discussion about wood restorer. I did not know what wood restorer was but when I found out, I got some and I tried it on the table and I was so pleasantly surprised that I took pictures to show you.
All you do is dab the wood restorer on a rag and swipe it over the damaged wood. It claims to permeate the finish of the piece without stripping it, and although it obviously can’t take stains or scratches out, it camouflages the hell out of them.
The front of the table, before:
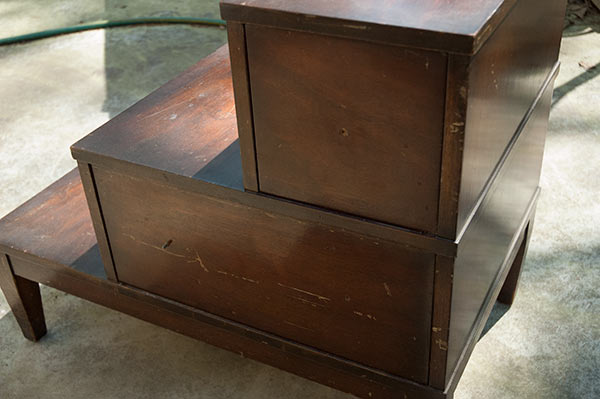
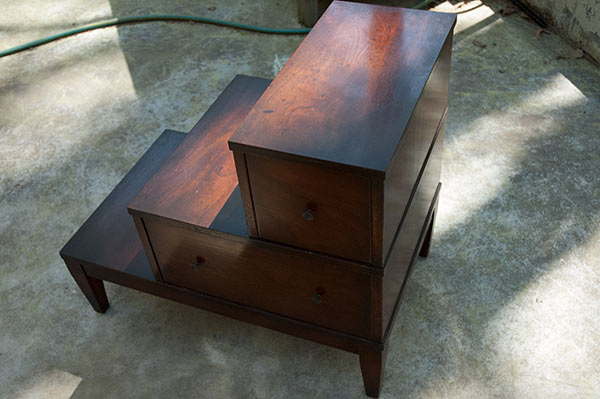
After:
The top tier, before:
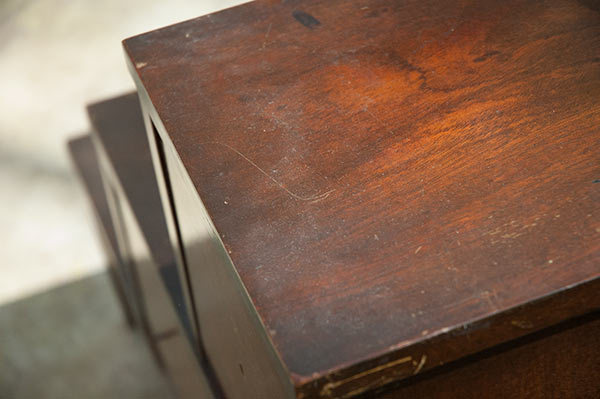
After:
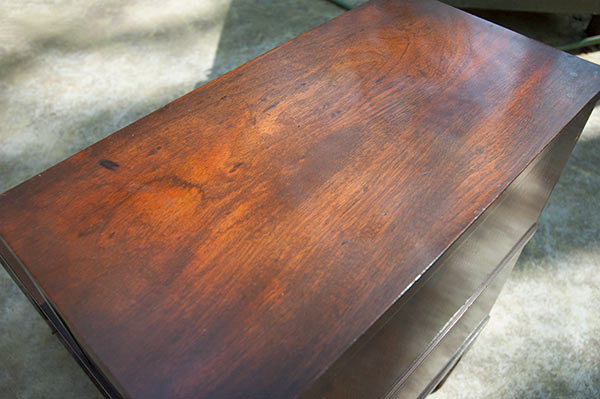
The small drawer, before:
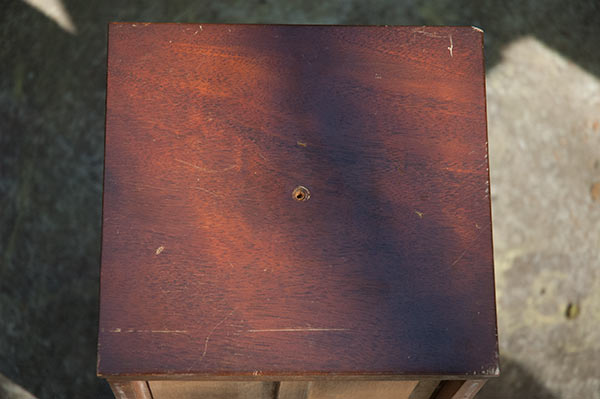
After:
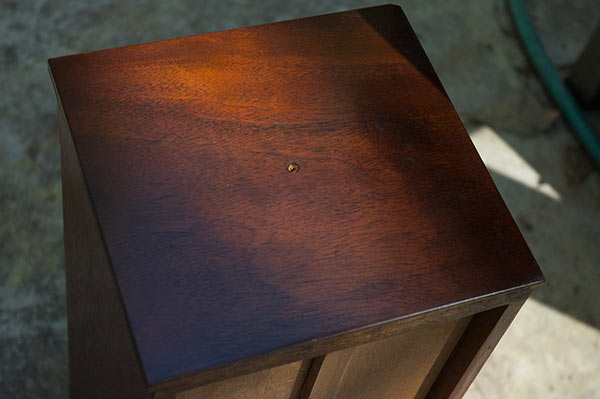
The second drawer, before:
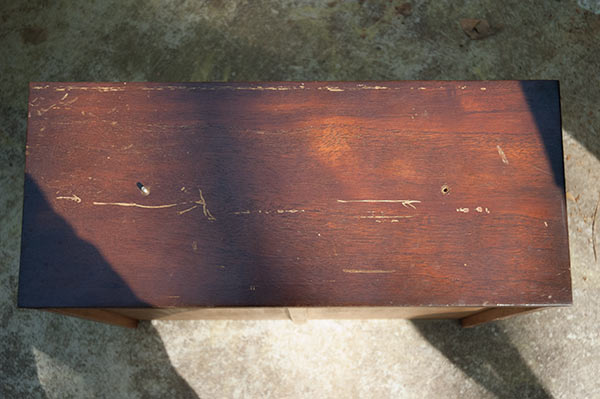
You can still see the big scratch across the front, so this one may require some 000 steel wool, but that’s for another day because for now this already looks better:
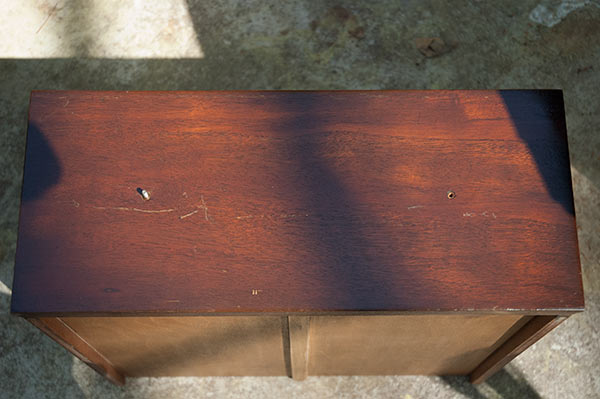
The legs before:
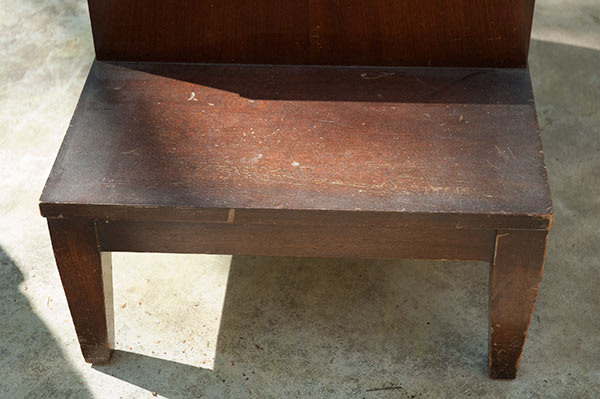
After:
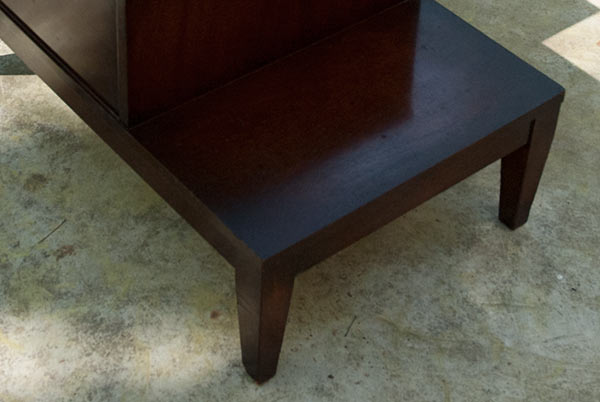
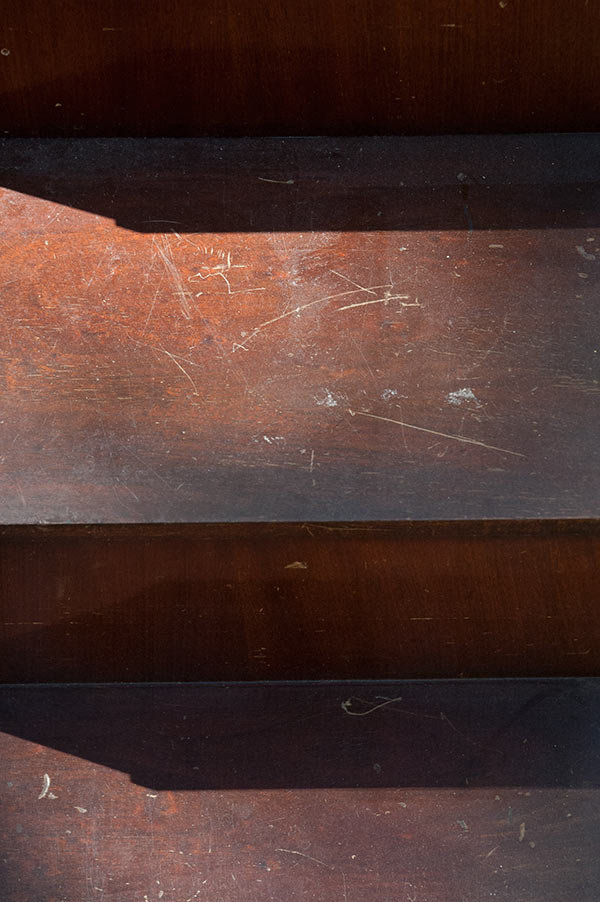
The back, before, with some deep scratches:
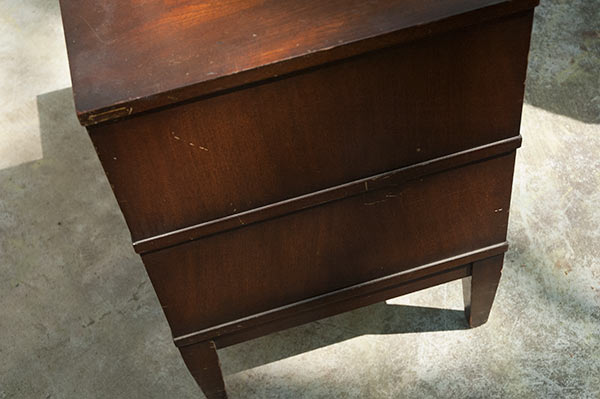
After:
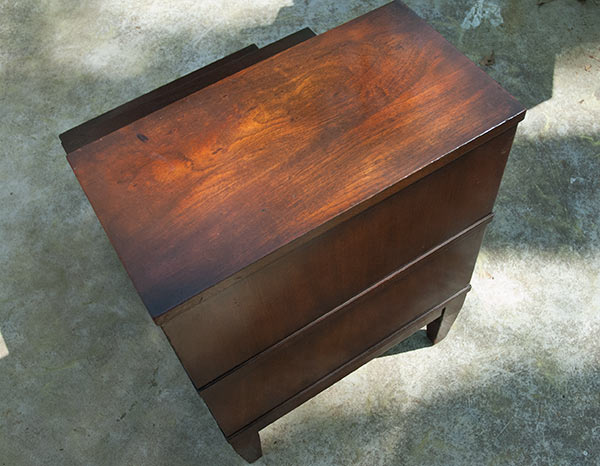
This is what the surfaces of the table looked like before:
And now the whole thing looks like this:

These photos are presented exactly as shot, with no color correction or Photoshoppery of any kind, so you can see precisely what I see. According to the camera’s timestamps, it took 23 minutes to perk up this table, including getting the drawers to pose for pictures and stuff. So all in all, not half bad. I recommend it.
Here’s what I used.
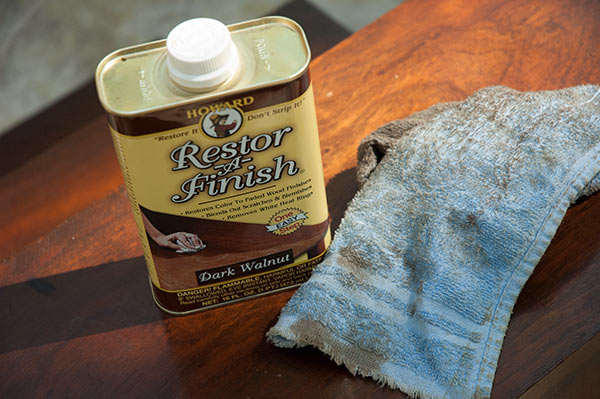
That’s all for today, but as soon as I get these curtains figured out for the living room, I’ll be back!
