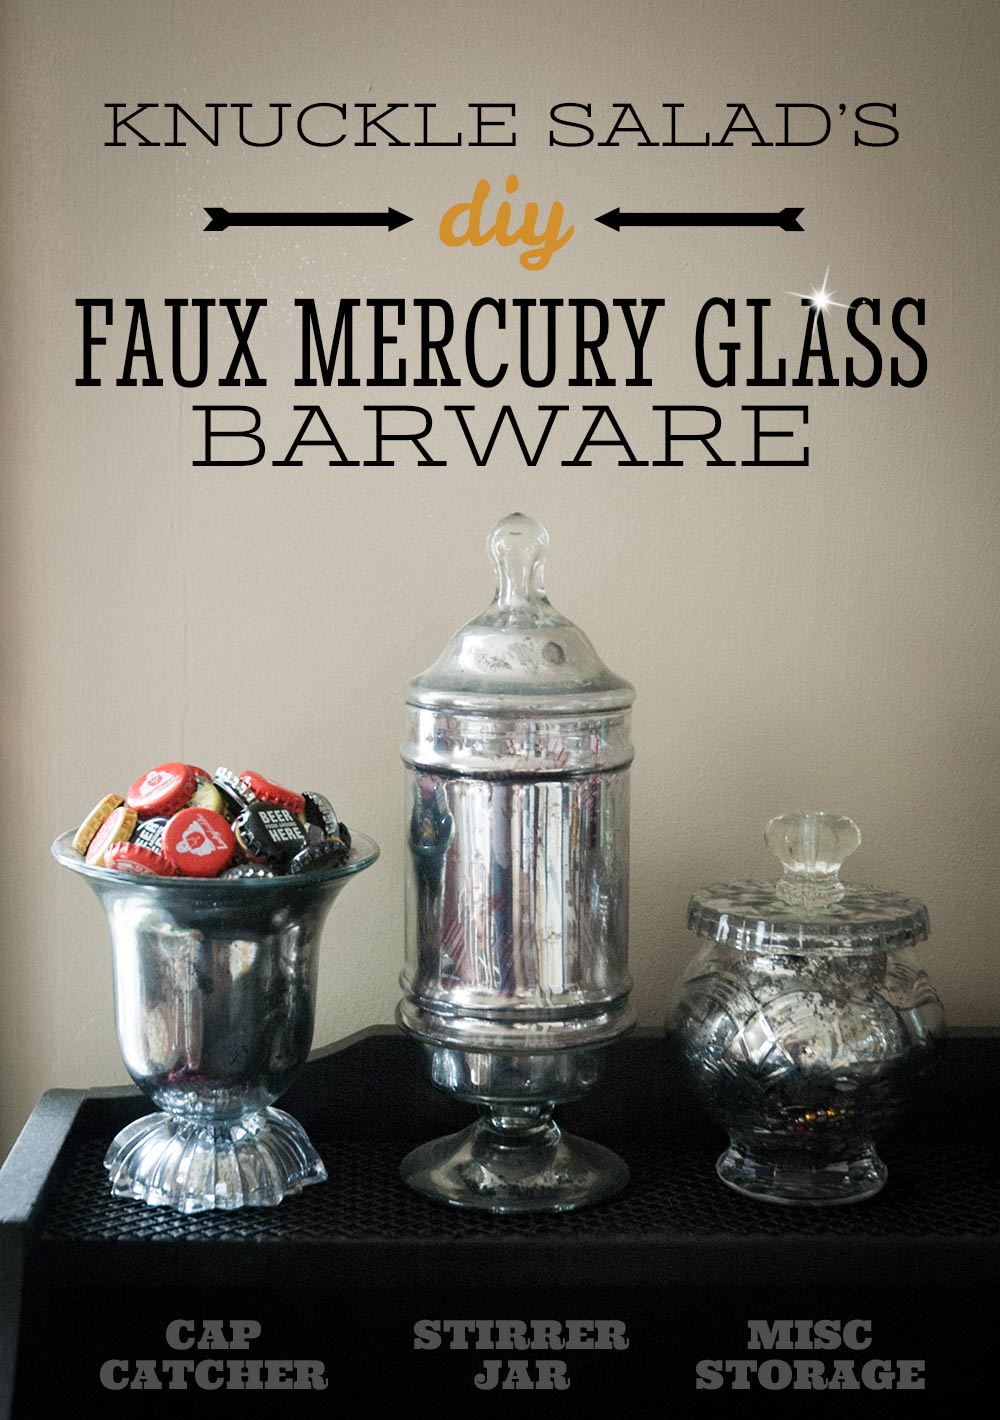
Mercury Glass Barware DIY
The best projects are the ones that people hate you for. They see the finished product in your house, and they like it, and then they find out you made it, and it makes them want to throw up. They want to throw up right on you. Those are the best projects, and this is one of them.
It ticks some of my favorite boxes: Inexpensive; Simple; One-Afternoonable; Impressive; Functional; and Customizable. Although they resemble small antique mercury glass apothecary jars, these are in fact combinations of old, unwanted glassware stacked up in pretty configurations and painted with very shiny paint. There’s a particular technique to applying the paint in order to make each jar look old, but it’s a simple technique, and it’s the near-foolproof kind because it’s supposed to look messed up at the end. The worse it looks, THE BETTER IT LOOKS.
About this project:
- It uses a very particular kind of spray paint. You can find Krylon’s Looking Glass mirror-like spray in most craft and hardware stores. It’s a little pricier than standard spray paints, but it’s 100% worth it. This project does not work with other paints. Not even metallic paints that are very shiny indeed. This has been tested, with massively disappointing results. It has to be mirror paint.
- It is not food safe. In order to make it slightly more food safe, you can apply the finish on the outside instead. However, it won’t look as much like actual mercury glass, in which the metal is sandwiched between two thin layers of glass. It also may or may not stand up to the kind of washing that is required when items are used for food. For this tutorial, let’s assume you’re applying the finish to the inside.
- Don’t choose any glassware you can’t fit your hand into. That is, if it has an inside side, you need to be able to reach in there to apply the finish.
- Different types of glass will look slightly different when finished. Glass that is thicker, tinted, or textured will look slightly different from glass that is thinner, clearer or smoother. That doesn’t mean diverse pieces can’t be placed together, but it’s something to be aware of when choosing glass to work with.
One thing I find now that we’ve moved into a house with land underneath it, after many years spent living in apartments, is that it’s tough to shake the feeling that I am not allowed to spray paint. If you’ve been a crafty apartment dweller for a while, you too may be accustomed to spraying surreptitiously, draping every inch of floor and railing in old sheets, and making sure the super isn’t eyeing you from another balcony. I’ve been there; I feel your pain. Now, even in a place where it’s nobody’s business what I spray where, I feel a distinct paranoia. While working on this project, for instance, I froze at the approaching siren of a passing cop, and prepared to greet the law when it inevitably caught up with me in the driveway.
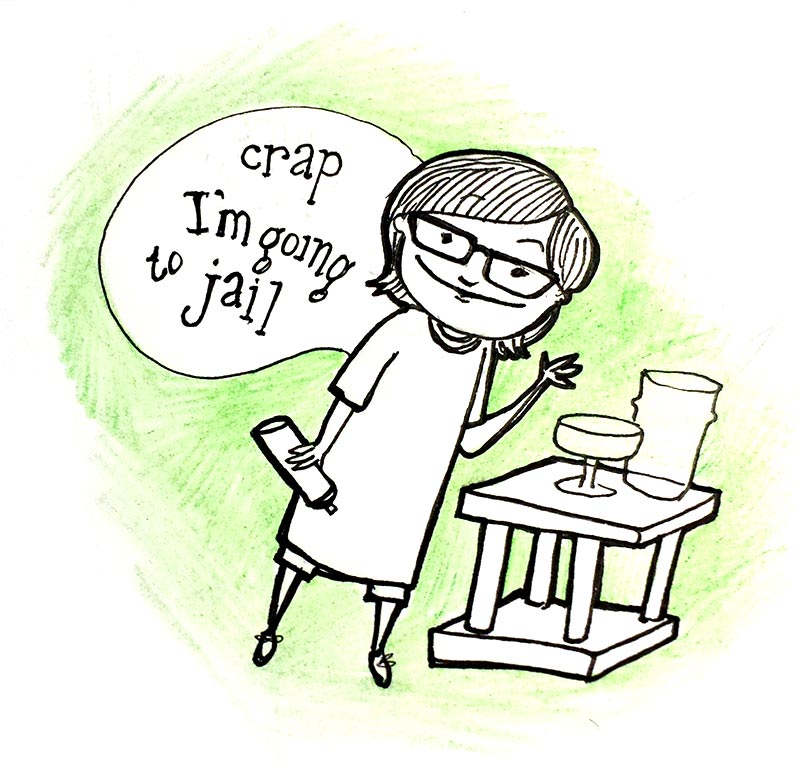
It was only a traffic cop, hassling yet another feeble idiot who can’t figure out our stop sign. So I’m still at large. On with the show!
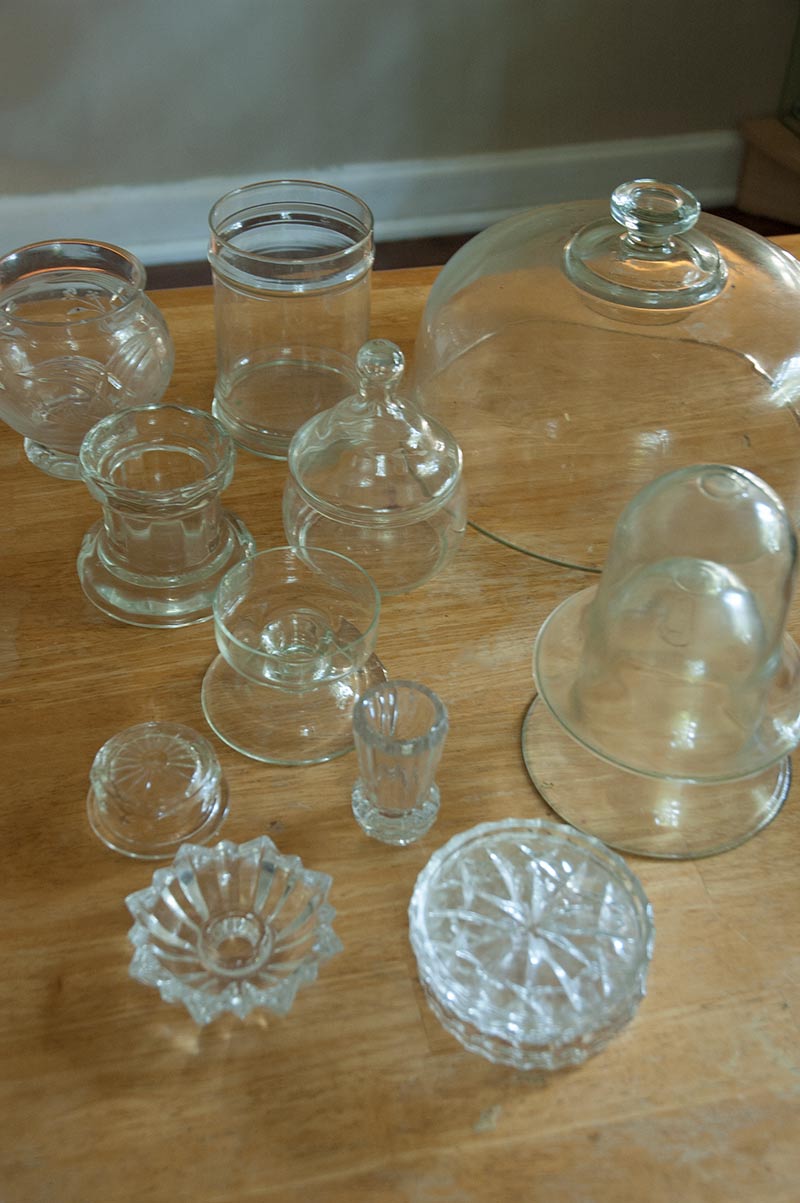
Step One. Gather glassware. Find stuff that will fit together, even if it means completely reappropriating it. For instance, the lid to my storage jar is an upside-down coaster with a little knob glued on, and the cap catcher is two very different glass candleholders, one turned upside-down to form a base.
I didn’t use every piece shown above for my bar jars, but every piece I did use (except the aforementioned little knob) is in this picture. Can you pick them all out? What a fun game! I should design placemats for restaurants.
Clean and dry your glassware thoroughly.
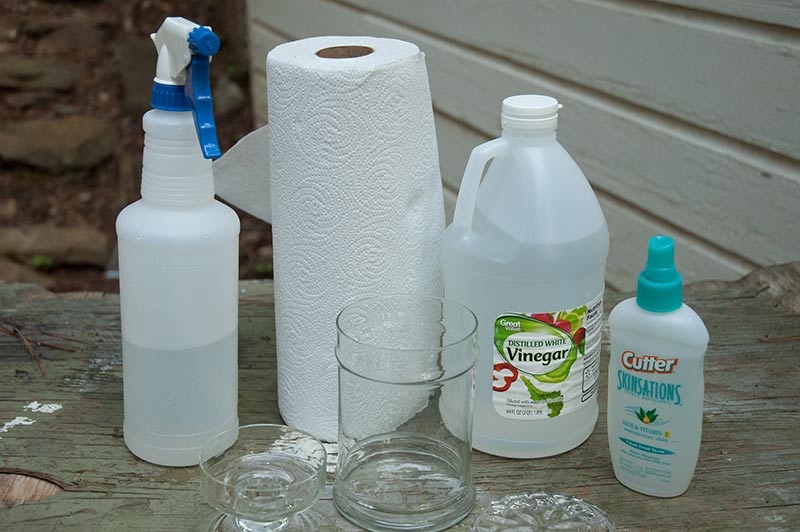
Step Two. Make it silver. I don’t know why I left the Krylon Looking Glass Spray out of this photo, or why I included the bug repellent. Everything else you need for this step is shown.
First, mix equal parts water and white vinegar, and pour it into your spray bottle.
Spray the inside of your glass piece with the spray bottle, until beads of liquid form all over the glass, but don’t spray so much that it runs down the sides.
Spray mirror paint right over the vinegar mixture, in short spurts, and wait 60 seconds.
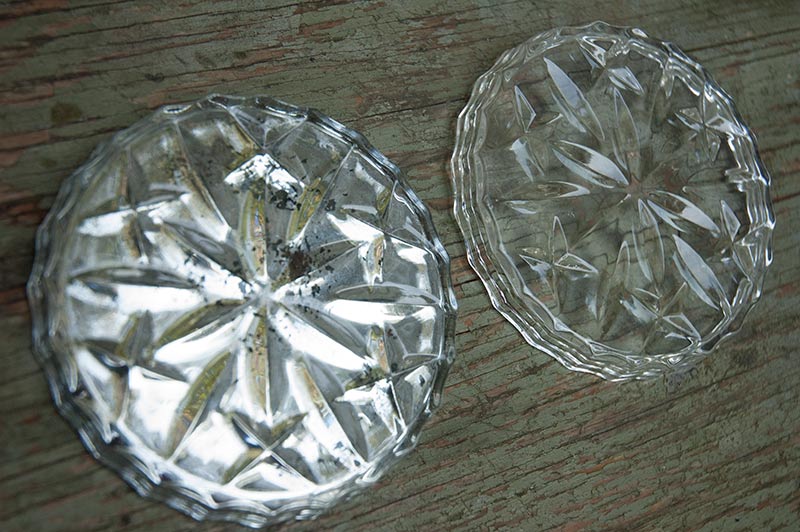
Blot the still-wet paint with a paper towel. This will remove most of the paint in the places where the beaded-up vinegar water was. More patting will remove more paint, and less patting will remove less paint. If you pat the towel down on the paint and slide it a little, you’ll get larger gaps/cracks like the dark spots on the glass coaster shown above (left). Play around until you like the look. And if you feel like too much paint has come off, let it dry and start over right on top of the paint that’s already there. Vinegar, paint, blot. You can do this a few times, if you want to. The goal is to get enough coverage for a shiny, pretty finish, while removing enough paint to make it look naturally aged. (A Google search for actual antique mercury glass may help you visualize the look you’re going for. It should also help you get comfortable with the idea that there’s no right way, and you can choose to make it look however you please.)
Let the paint dry thoroughly.

Step Three. Glue it all together. I recommend a super-strength adhesive that specifically claims to be made for use on glass, since other adhesives may not take well to non-porous materials. I use Amazing Goop or E6000 for a project like this. Both of these require applying the glue to both surfaces to be adhered, waiting a certain amount of time until the glue is still soft but no longer tacky, and then mashing the two pieces together and leaving them alone for 24 hours to set. The result is an extremely tight and reliable bond.
But basically, follow the instructions on the package, and set everything aside to dry.
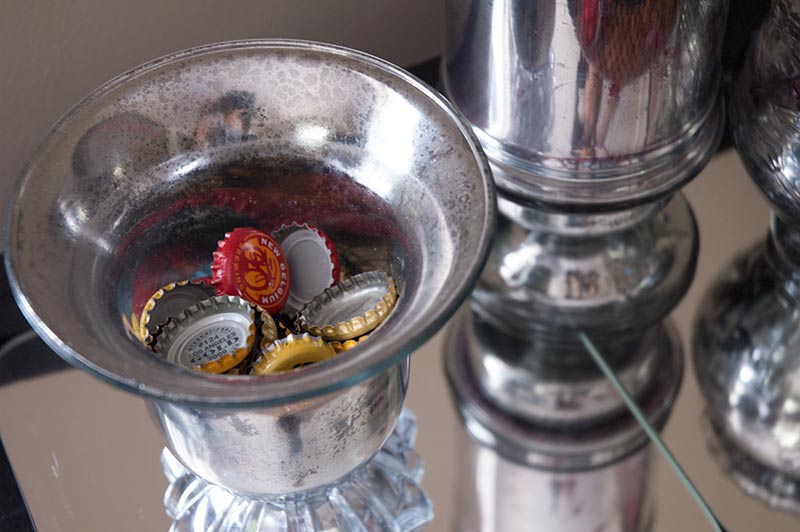
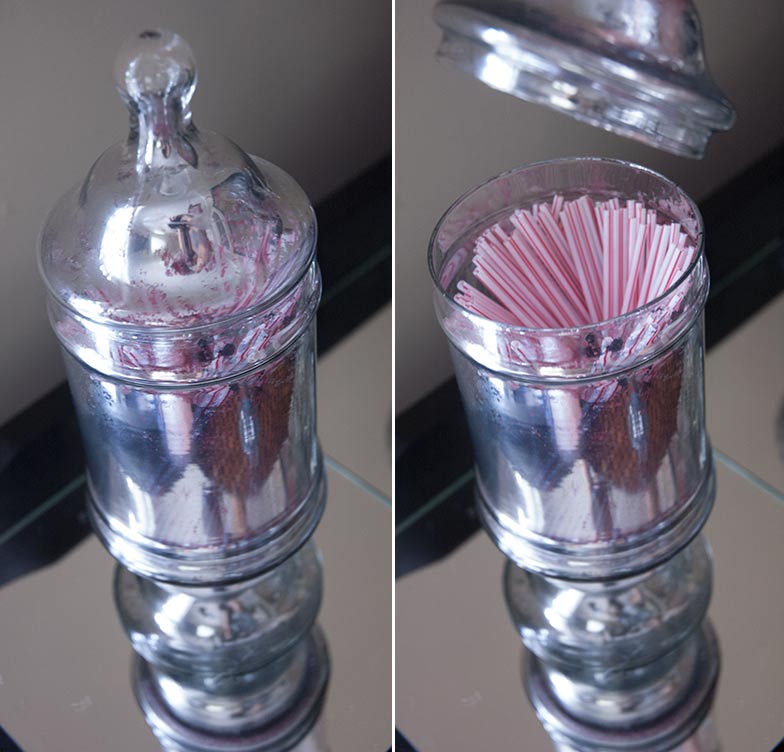
Step Four. Gloat, because you are finished. Put things into your new antique glassware and set it all up for display.