Illumination Challenge
We live in an old house with old walls and old wiring and we love it. (Don’t worry—we’ve got lots of alarms and detectors connected to emergency services, and we mostly stay away from the asbestos in the basement, so there’s a decent chance we’ll survive.) We’re still figuring each room out, and although we haven’t gotten to the dining room yet, we did do one thing. We made a massive drum shade for the chandelier.
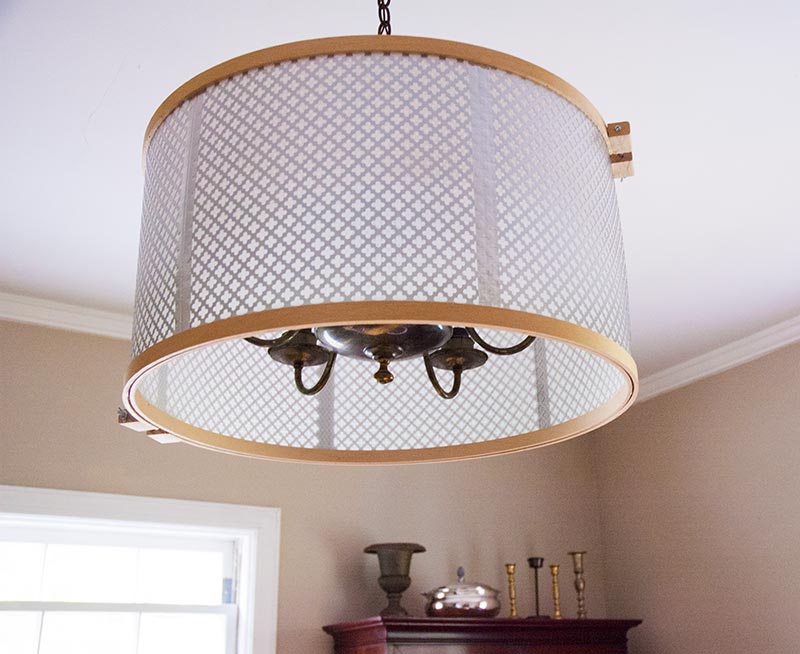
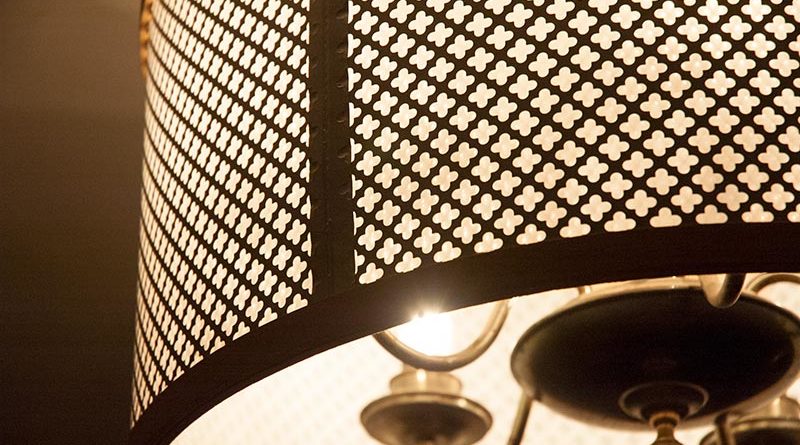
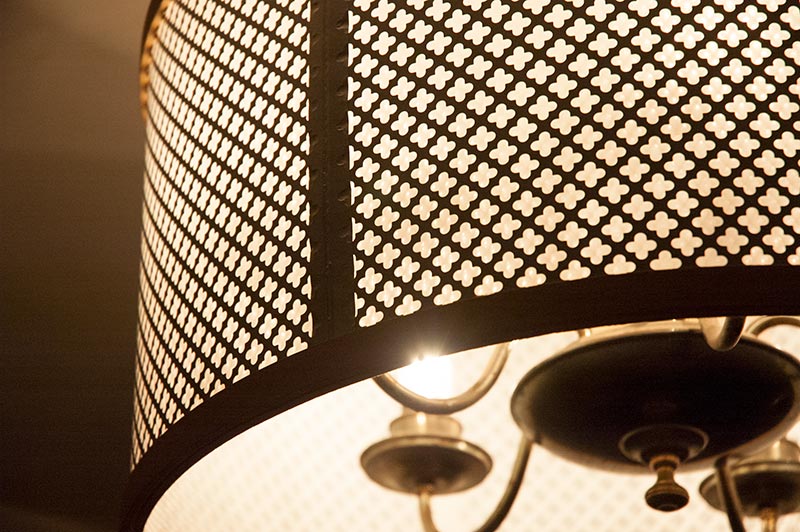
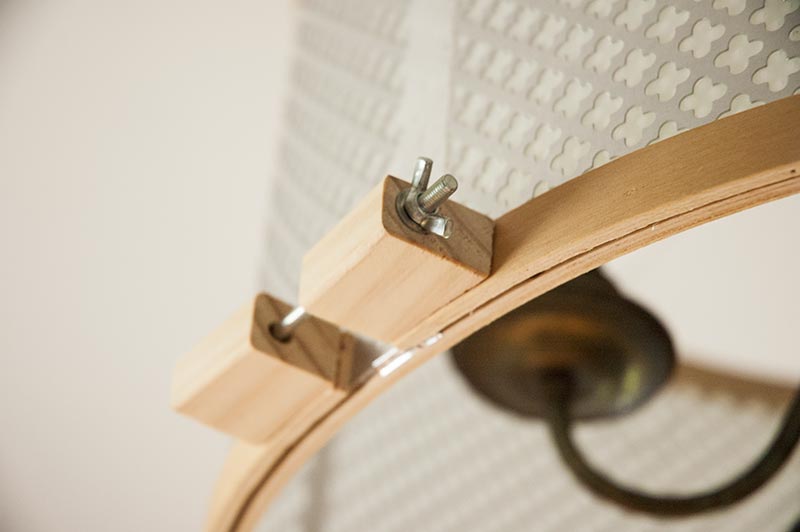
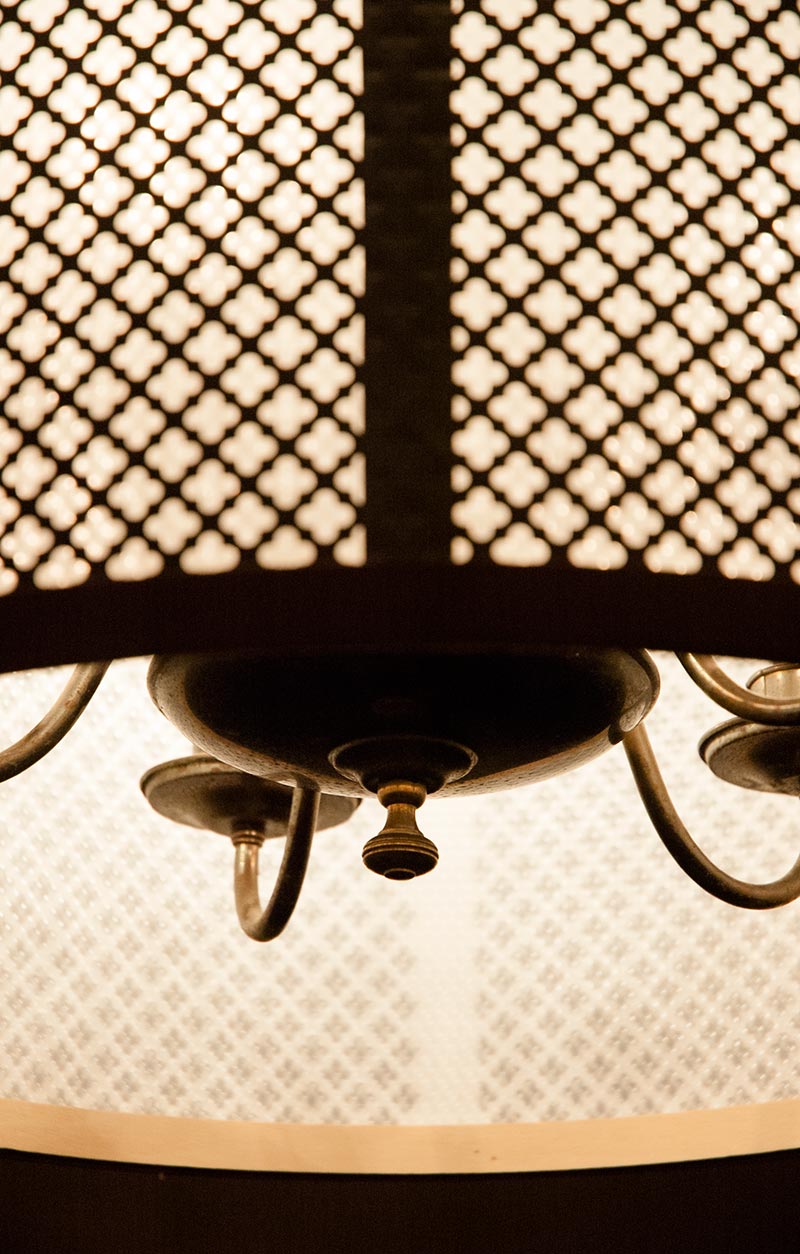
It took about an hour, and we spent just under $60. Also, it’s perfect and I am in love with it. It’s so shiny! And see the little wooden blocks on each side? Do you find them quirky and adorable? I sure do. Sometimes I turn the light on at night just so the neighbors can admire it from the street, like a major award.
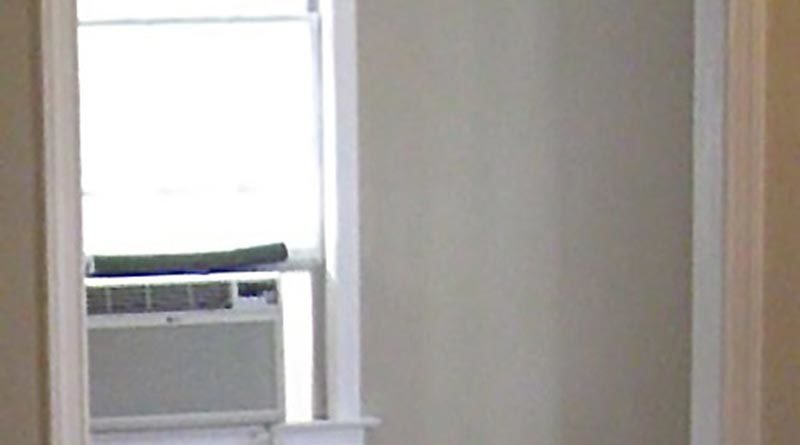
Here’s the thing: the chandelier we covered up is cool! It’s a regular old brass fixture that probably came with the house and it’s tarnished, but elegantly. Maybe not elegantly. Quaintly. These are the only photos I could find of it pre-project: both from the backgrounds of other photos, before and after we had taken off the frosted glass shades. Unfortunately, I never intentionally photographed the chandelier beforehand, so it kind of looks like I hired a private investigator to follow it around.
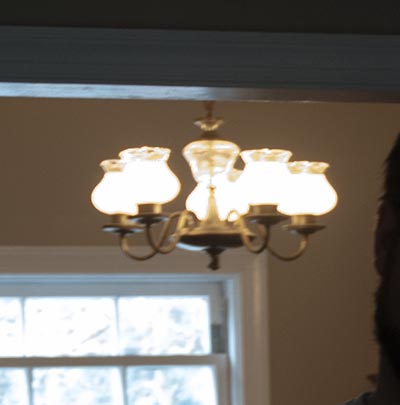
I admit I wasn’t completely wild about those glass shades, but I was happy to leave them alone…except one was broken. You can’t tell from the photos, so you must take my word for it. They had to go, and that didn’t leave much.
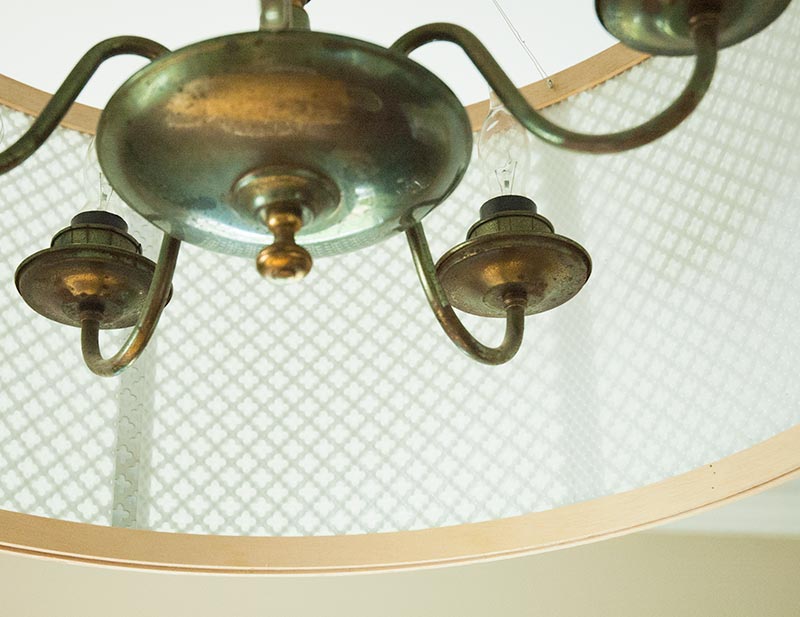
Without shades to shield its bare bulbs, the little fixture seemed sort of lonesome, not to mentionblinding. I shopped for a set of those mini lampshades that go over each bulb but as it turns out, I hate those. It also turns out I quite like this:[divider]

[divider]
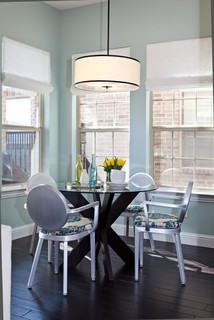
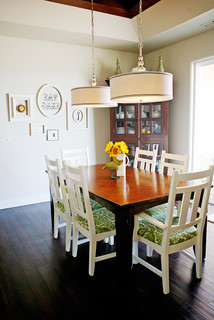
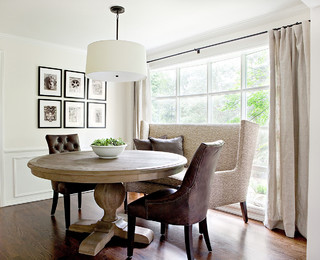
Since I’m not ready to show you the rest of the dining room yet (I told you, we haven’t gotten to it) please imagine that our house now looks exactly like one of these photos. Any one you please. Reader’s choice.
So based on these images, I decided we should cover the chandelier with a drum shade, but I wasn’t about to drop $300 on one before we’d even bought curtains. Apart from the money, a purchased shade would force us to take the chandelier down for installation, and I don’t mean to make a big deal of our tricky mid-century wiring, but it was more than we were willing to mess around with. All a drum shade is is a big cylinder, I reasoned. Inherently DIYable!
I devised a plan about how I could make it out of, I don’t even remember, like an irrigation hose or something? It was a stupid plan. Probably one of my all-time worst, including that weird wobbly robotic chicken I made out of wood for art class, except this time I had enough sense not to see a stupid idea all the way through. Instead, the gent and I stockpiled these items:
- a couple of quilting hoops (about $6 each at Hobby Lobby)
- three panels of decorative metal screen ($12 for each 1’x2′ section at Hobby Lobby, or $23 for a 3’x3′ panel at Home Depot which is obviously a better deal but I wasn’t interested in breaking out my tin snips)
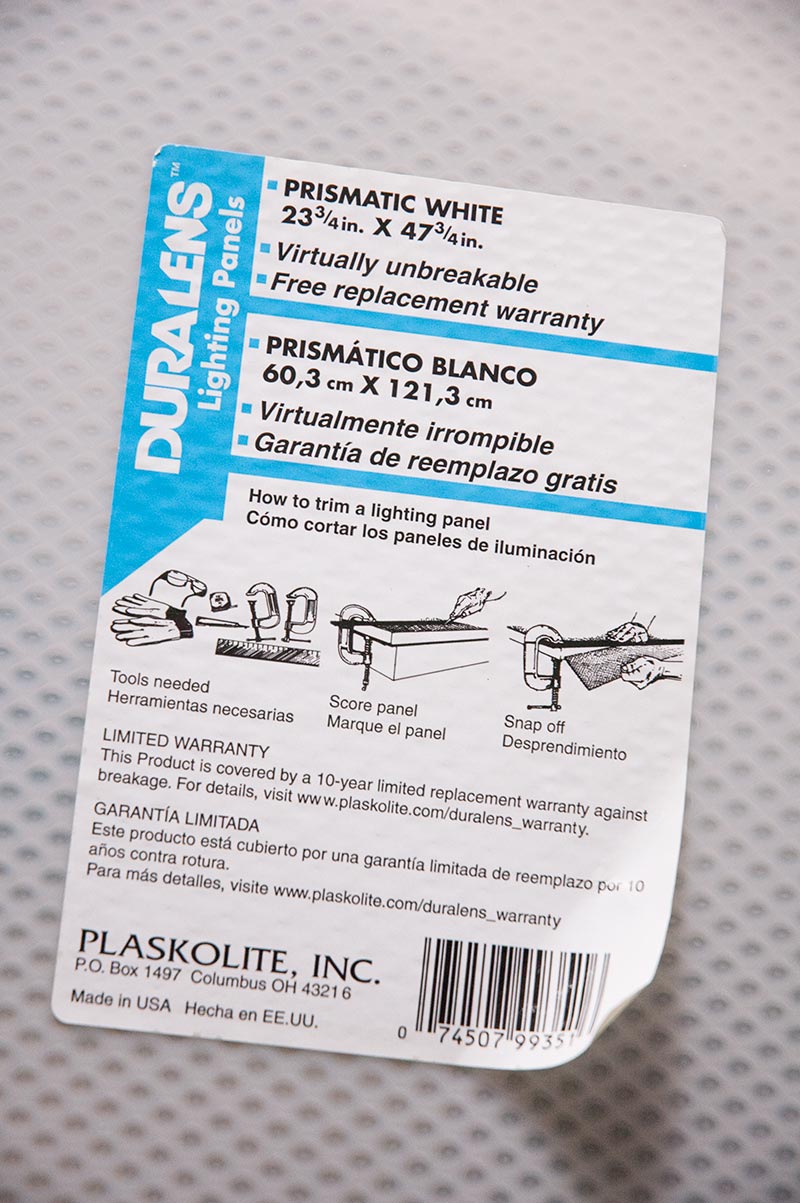
- a polystyrene lighting panel (about $9 at Lowe’s)
- some tiny eye-screws
- a short length of wire
- some foil tape
There are two reasons I don’t have a phototutorial to go with this. First, there really aren’t many steps to show—all the action kinda happens in one shot, around Step 6. Second, I needed all four of our hands at that moment, and for some reason we don’t employ a full-time photographer.
I did take one picture right after Step 8…but it doesn’t show you much except how badly we need to paint our shoe molding.
The thing is, this is about to look like a ton of steps, but they’re all really easy. I’m overexplaining. You’ll see what I mean—there are ten steps to this project, but the first five are literally just math and shopping.
- Measure the diameter of your light fixture. If it’s got an even number of lights, it’s easy—you can measure straight across from one end to the other. If it’s got an odd number, like ours with five lights, it’s tougher. I did it by standing underneath, imagining a circle that went all the way around it, and measuring across the edges of where I thought that invisible circle would be. Then I added a couple of inches for good luck/massive and inevitable error.
- Select a hoop. Add at least two inches to your diameter (because you don’t want the shade to touch the lights), and select the nearest-sized quilt hoop. For instance, my light was about 19″ in diameter, so I bought 23″ hoops—bigger than I needed, but I felt a larger fixture would suit the room better.
- Calculate the circumference of your hoops. I used this circumference calculator because I am an adult and there is no reason for me to do math.
- Pick out some metal grating. It comes in lots of designs. You’ll need enough to go all the way around your circumference. For my 23″ hoops, I figured I’d need about 72″ inches of metal, which was lucky because that’s exactly 6′. I bought three 2′ panels, but the gaps between each panel still ended up being noticeable, because I didn’t take the thickness of the polystyrene into account. That’s why I have pretty wide bands of reflective tape between my panels. If you’re worried about bigger gaps, you have options: buy an extra panel and cut it to fit, or space your gaps out evenly to be covered with tape.
 Choose a light panel. They’re made to cover the fluorescent lights in a drop ceiling, and they come in a few different styles; we chose the white prismatic one. Cut it to the same height as your grate panels, and the length of your circumference. (It’s okay to cut a liiiittle longer than the circumference; I cut mine precisely to size and could’ve safely added nearly an inch, but again, the tape covers this.) Heavy-duty scissors can handle the job, but take your time. The styrene will chip around the edges as you cut, and that’s okay, because the edges will be hidden—just try to keep the cracking to a minimum. A little tape over the place you’re about to cut helps, and makes it easy to stay on track.
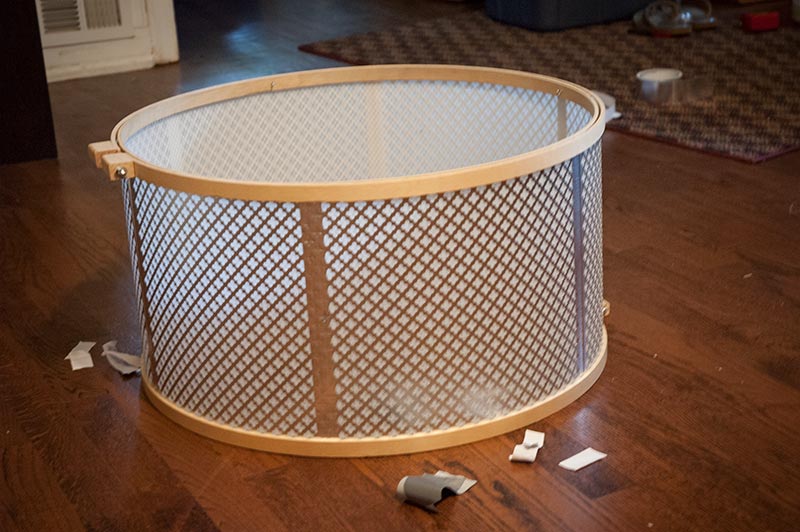
- Assemble. It’s a good idea to have a second set of hands for this next step. Loosen the bolts on one of the quilt hoops and lay it on the floor. Carefully bend the lighting panel to fit it between the inner and outer parts of the hoop. Hold it in place while you gently place the metal panels in this space as well, on the outside of the lighting panel. If you have gaps in between, try to make them as even as possible, and make sure that the seam of your lighting panel either aligns with one of the seams/gaps between your metal panels, or falls directly between two of them. (This will become important in Step 8, when you’re taping.) Carefully tighten the quilt hoop until everything is held firmly in place.
- Second hoop. Loosen the other quilt hoop and position it over the top of your metal and lighting panels, taking care to align the side with the blocks/bolt at the opposite side of the first quilt hoop’s blocks/bolt. Otherwise, your fixture won’t hang straight. Hold it all the way at the top edge and tighten. If for some reason you don’t want to tape, skip to Step 9.
- Reflective tape has a paper backing. It’s also absurdly sticky. Cut as many lengths of tape as you’ll need. (I used six; I had three seams, but wanted to be able to see two tape strips from any given angle instead of just one, so I placed my lighting-panel seam halfway between two of my metal-panel gaps and taped on each seam of my metal panels and halfway between them as well. You are probably going to reread that sentence at least four times. I’m sorry. It’s the best I can do.) Working with one strip at a time, remove the backing, carefully replacing a section of backing on both ends of the tape. You’re going to stick the center of the tape strip onto the drum along one of your seams, leaving the edges of the tape loose and still with their backing. When all the tape is applied, remove the top hoop (I KNOW, it’s a bummer, but since everything’s taped together now it won’t come apart when you remove a hoop!) and stick the top end of each tape strip down, trimming if necessary. Then replace the top hoop, flip the shade over, remove the bottom hoop (now on top) and do the same thing. Make sure both hoops are tight when you’re finished, and that the blocks/bolt of each hoop are still positioned opposite one another.
- Affix four eye hooks to the inside of the top hoop, evenly-spaced around the shade.
- Thread wire or fishing line through two of the eye hooks (two that are next to each other, not opposite). Hold the shade up at the height you’d like it to hang, pass one wire through the chain from which the chandelier is hanging, and attach it securely to the opposite eye hook. Pass the other wire through an adjacent piece of chain and connect it securely to the eye hook opposite it as well.
That’s it! It’s easier to do than it is to explain (or indeed to read). It felt like we had used some kind of house cheat code, because before we did it, we had this tiny rusted chandelier with bare bulbs, and afterwards we had glory and grandeur and the satisfaction of a job so surprisingly well done we sort of didn’t believe it. It was way too easy.
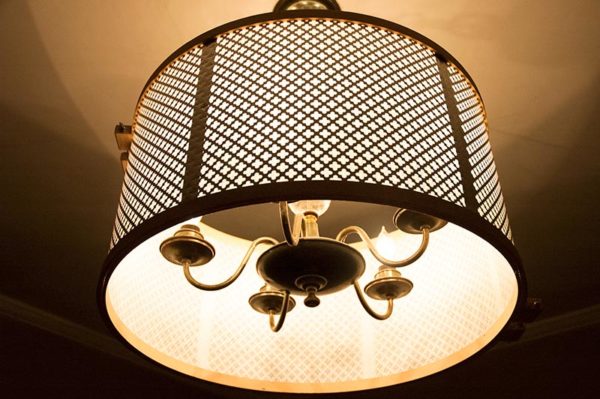
We hung it so that only the bottom of the little chandelier would peek out, but when you sit at the table, you can look up without the lights shining in your eyes.
Anyway, long story short, if you’re sick of your ceiling fixture but it’s not the time to replace it, make an outfit for it! We did, and would absolutely do it again, because we love it. And if we ever get sick of our cloverleaf metal (as if we ever could!) we will unfasten the wires, open up our hoops and swap out something else for an easy refresh. Someday. Maybe.