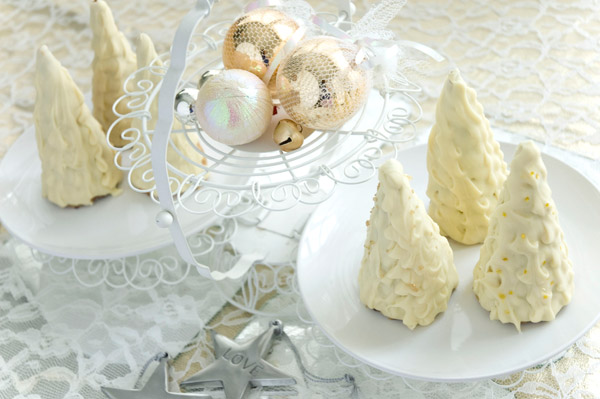
Ice cream Christmas trees, and a recipe contest
This is the full version of the Ice Cream Christmas Trees post, as published on December 5, 2011. It includes quite a bit of outdated contest information. If you’d like to read the updated, non-contest version, you can see it here: Ice Cream Christmas Trees.
I like to say yes to things. I try to keep it at a manageable level, like one or two quality yeses a week, so I don’t end up yesing myself into a tense little corner. That means I have to shop my yeses around and make sure I have yesed the best possible yes. That’s why, for this week, I’ve agreed to be a judge for the first VeryGoodRecipes.com recipe challenge [UPDATE: This event has now passed. —ed.]. It makes sense, because I judge stuff all day long just for the hell of it, so I might as well get some kind of recognition for it, and an official title. Then it’s like all my needless everyday criticism has been valuable practice. Yes.
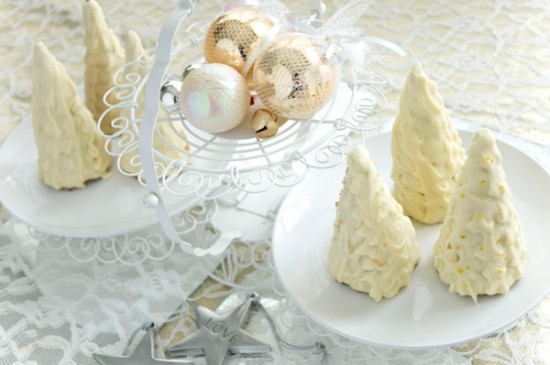
The theme of this first contest is “White Christmas,” and each judge was asked to put together a recipe as an example. These are my white Christmas trees. They’re yummy, and they’re so stupid-easy you’ll facepalm all over yourself when you see what they’re made of. Hey! Don’t you roll your eyes at me!
The contest, by the way, is open to all participants (not just food bloggers), and the winners get to go shopping for luxury spices and stuff. Here’s the hook:
What dish do you think of when you hear “White Christmas”? You can of course cook with white ingredients such as white fish, white chocolate, white asparagus, white truffles, white vegetables, chicken, cream, coconut milk etc. But your recipe does not have to be all white! It needs to be festive and have a “snowy” feel. You can be creative and imagine a snowy presentation, for instance sprinkling snow crystals (drops of cream, petals of white edible flowers, and a lot of other ingredients) or trying to create a snow-covered landscape one can eat!
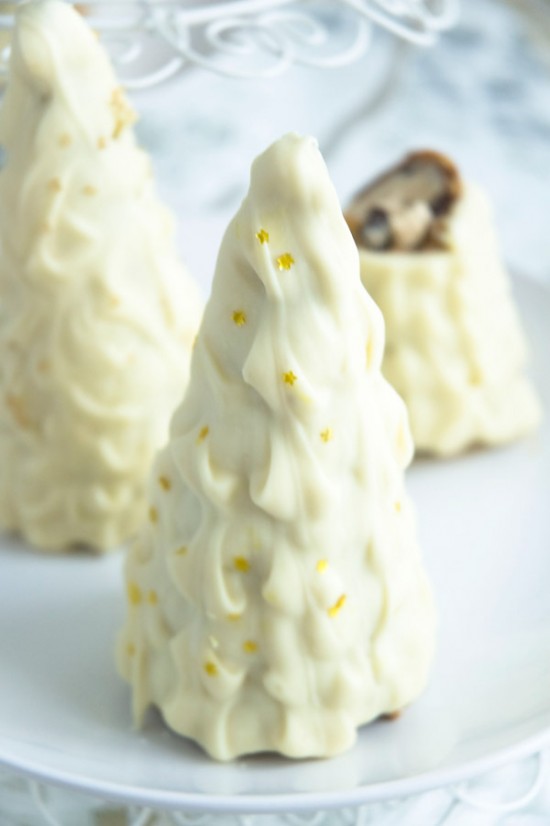
You’re probably thinking about mashed potatoes and sausage gravy and tofu and all kinds of other traditional festive delicacies, and you’re probably right, but these white chocolate-covered ice cream-filled waffle-cone trees are my official example of what the contest is about to me. They’re cute, classy, fun and simple, not to mention extremely white and Christmassy. Think they’re too white? Not Christmassy enough? Ought to be covered in a soft white cheese? Submit your own recipe and prove me wrong.
Mind you, just because I’m a judge and you already know how much I totally love you, that doesn’t mean you necessarily have a leg up in the contest, because it’s not up to me alone. Here are all the judges you’ll have to impress with your recipe:
- Alex from Food 4 Thought
- Anne from Les Recettes du Panier
- Han Ker from Hankerie
- Me! Kristina! from Knuckle Salad!
- Quay Po from Quay Po Cooks
- Rachel from Blissfully Scrumptious
- Russell from London Eats
- Suzy from Suzy Eats
- Vanessa from Vane Valentine
You can do it, though. I believe in you. Knock ’em dead.
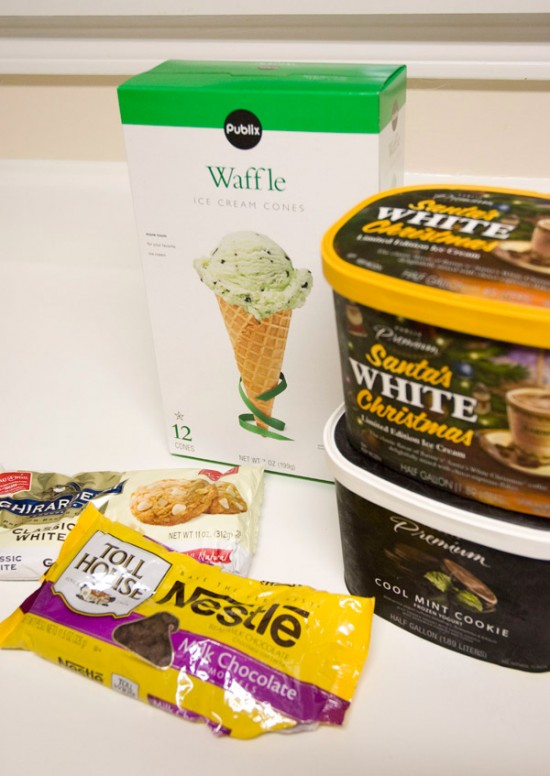
Personally, I’m easy to impress. You don’t have to come up with a complicated recipe or employ advanced techniques to knock my socks off. Just surprise me a little. For instance, the “recipe” I made up as an example has only a few ingredients: Ice cream, ice cream cones, and chocolate. I used two kinds of chocolate because I’m super fancy, but if you can only handle thinking about one kind of chocolate at a time, that’s okay. Don’t make your brain explode right before Christmas. Your family would be so sad. It’s not worth it.
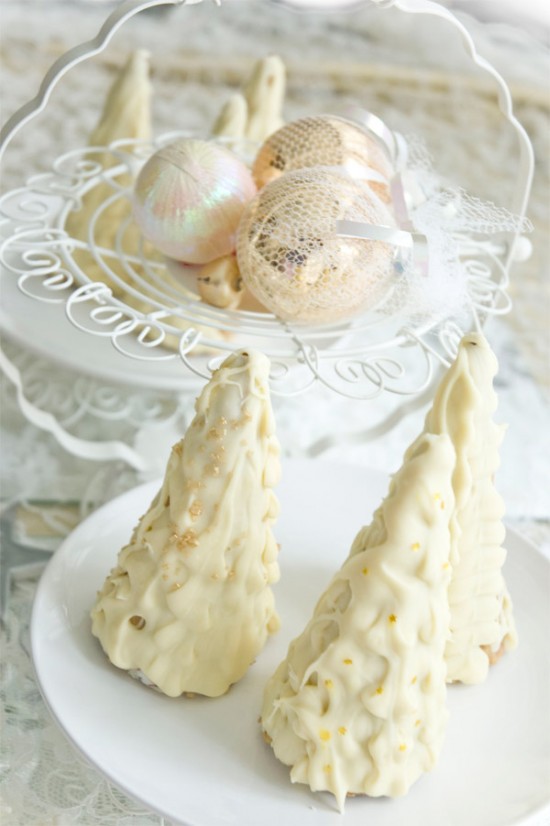
I’m not kidding about it being simple: these trees are nothing but chocolate-covered ice cream cones filled with delicious ice cream of your choice. There’s nothing advanced about it, and it’s easy to make during the day when you’ve got company coming over later. You can decorate the trees with candies or shredded coconut or anything you like—I enlivened a few of mine with sprinkles and edible stars—or you can leave them alone and let them be elegant snow-covered pines. The secret to making the outside look pretty? White chocolate is piped with a frosting tip, using absolutely no skill or attention to neatness. My specialty.
To make six trees, expect to use six servings of ice cream (one gallon is more than enough), between one and two bags of white chocolate, and half a bag (at most) of milk or dark chocolate for the inside. Like I said, you can just use white chocolate on the inside too, if you’d rather. No brainsplosions.
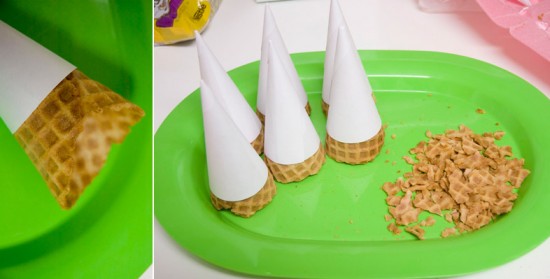
First, you’ll need to level the cones so they stand up straight. Waffle cones generally aren’t flat at the top (sugar cones are, though, so they make an easier option… it’s just that waffle cones are so much more awesome in every way), so you’ll want to carefully chip away at the edge of each cone, pinching to break off bits from the taller side until they’re level enough to stand up straight when you set them down.
Save those cone-crumbs, because they make a great topping for future ice cream sundaes!

Then coat the inside with a thin layer of melted chocolate. This will protect the cone from getting soggy once you put the ice cream in.
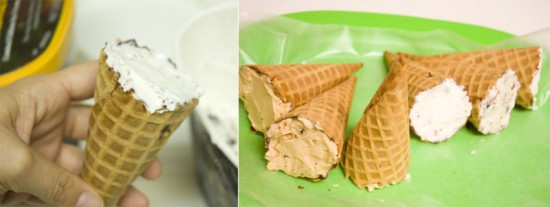
Take the ice cream out of the freezer ahead of time to soften, then carefully fill each cone with softened ice cream, doing your best to shove it all the way down to the fill the narrow tip. Smooth the top over so the cone can still stand up and return them to the freezer.
After the ice cream has hardened up again, cover the outside of each cone by piping melted white chocolate in vertical rows from bottom to top. Don’t stress about this! They look great when they’re sloppy.
You want your chocolate to be melted, but not red hot, so take your time filling the pastry bag, which will allow your chocolate to become a little bit thicker and easier to work with. Remember, melted chocolate is softer than frosting and doesn’t pipe the same way, so if you try to cover your tree in piped stars, for instance, you may find that the stars don’t stand up the way you’re expecting.
For my trees, I used a leaf tip, squeezing the bag at intervals about an inch apart as I piped each vertical row. I also went all the way around each tree once and spaced out my vertical rows so they didn’t touch, then made a second trip around to fill in each gap with a new row, rather than trying to keep all the rows tight together the first time. Just do what feels right to you, and remember, you can experiment to your heart’s content on wax paper! Once your chocolate sets on the wax paper, you can pop it right back into the bowl and melt it again for a penalty-free do-over.
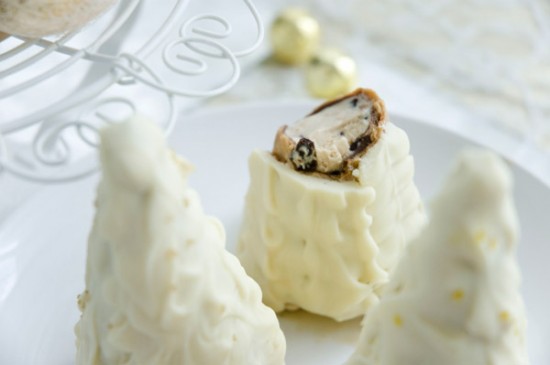
Keep these frozen until you’re ready to serve them. The white chocolate, even though it’s thick, will only make a hard candy shell in the freezer, unlike milk or dark chocolate which might break all your teeth. (The chocolate on the inside of the cone is only a thin layer, so you don’t need to worry there.) When it’s time to dig in, you won’t need utensils—but an extra napkin wouldn’t hurt. Yes. Yes to extra napkins.
