My rock and roll applique
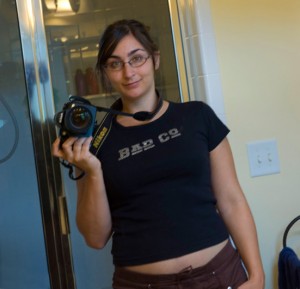
 Look at this t-shirt! How can a t-shirt be so sucky and so awesome at the same time?
It’s my vintage Bad Company tour t-shirt, and I love it. But it’s ugly.
I mean, it certainly wasn’t new when I got it in 2003. It also wasn’t much cuter then than it is now, except that I might’ve been ten pounds lighter and the shirt was maybe a few dozen washes darker. But it was still an awkward, unflatteringly belly-revealing length, and made from this too-thick material that makes the sleeves stand out weird on the sides.
But… I like it.
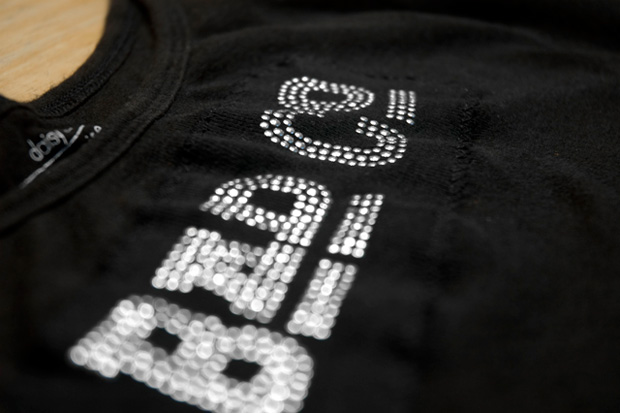
I like the way the Bad Company logo is spelled out in little silver studs, and I like knowing somebody bought it at a concert, even if it wasn’t me. So every time I clean out my closet, I scrutinize this shirt, but I’ve never been able to part with it. Once in a while I used to wear it with a longer top underneath, but only rarely because it looked weird. Mostly I just let it hang around. But today I got an idea.
There might not be enough material to make a better shirt out of it, but why couldn’t I just take the logo and stick it on something else?
So I googled “applique,” got out my sewing box, did a practice run on a less-special shirt, and got to it. Both the practice shirt and the Bad Company shirt were done inside 30 minutes, and I’m terrible with fabric, so regular people can probably do it in half the time even if they’re careful.
I already had a favorite tank (coincidentally called the “Daisy Fuentes My Favorite Tank”) in a similar black, and I decided to risk it. Had worse come to worse, I’d have been out a favorite top, but the logo itself could probably have been salvaged and really, where can’t you buy a black tank top? Right? (Even now, after it’s over and I know everything turned out fine, I’m trying to convince myself it’s a risk worth taking.)
Fortunately, although the tank is a lot thinner than the original t-shirt, both garments had a similar amount of stretch. That’s something that I didn’t pay enough attention to on my practice shirt. It makes the process a lot easier and the finished product a lot neater.
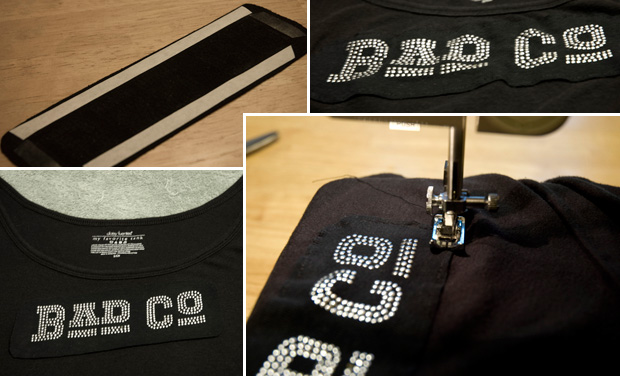
The process is simple:
- Cut out the applique. I cut a parallelogram around my logo, and left at least 1/2″ all around.
- Iron fusible interfacing onto the back of the applique. Follow the instructions that come with the interfacing. I didn’t have my instructions, so I started with a pretty cool iron and kept going hotter until it melted.
- Remove the backing from the interfacing and iron the applique in place on the shirt. My tank top said “cool iron if needed,” so I had to be careful to press with only the tip of the iron and not iron the shirt itself.
- Sew with a straight stitch all around, with thread the same color as the applique, as close to the edge as you can.
- Sew over the straight stitch with a zigzag stitch in the same thread.
On my practice shirt, I forgot to do the straight stitch, and it made a huge difference. That straight stitch holds the applique in place way better than the interfacing alone, and if it isn’t held in place well, the machine pushes the applique around while sewing the zigzag stitch and the applique winds up twisted into a new position. I got a crooked applique on my practice shirt. Not what you want.
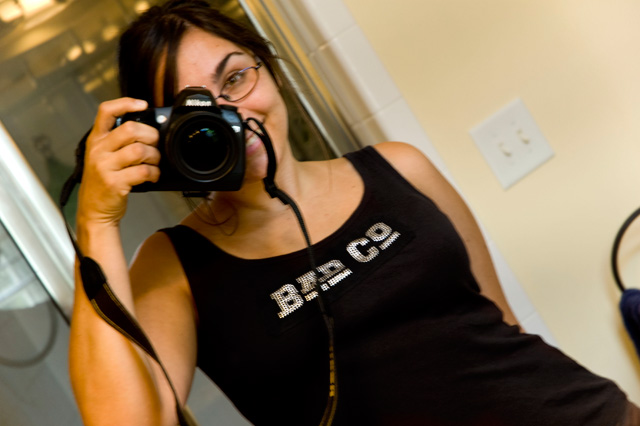
But this one came out just the way I imagined it! It looks really homemade, but neat enough to wear out, and leagues better than the original faded t-shirt.
So that’s that. Much better, don’t you think? I’ve got a few t-shirts in my dresser that I’m sentimental about, like some other vintage tour shirts and my old h2g2 shirt. I’ve got to run downstairs and tell them they’ve got a destiny now.


