Neckroll-philia

I picked up these red neckroll pillows at Bed Bath and Beyond a few years ago. Super comfy. And when I got them, I liked the color and the style. But we lived in another apartment then, and I’ve since grown tired looking at all their slouchy redness in our new place.
Updating them turned out to be so incredibly easy that I questioned whether this project even warranted a tutorial, but then I thought, that’s exactly why it warrants a tutorial! The pillows underneath are completely unharmed, and the covers I made are closed with a hidden drawstring, so they can easily be removed in case of spillage or a change of heart. It took me about 90 minutes to make the first one, and that includes figuring out the formulas and drawing the diagram. Now that those steps have already been done for you, I estimate… I don’t know, an hour? Tops. Seriously, it’s three seams and a gathering stitch. And as usual, I’m aiming this tutorial at people without a lot of sewing background, because I have no authority to tell the rest of you what to do.
Shall we?
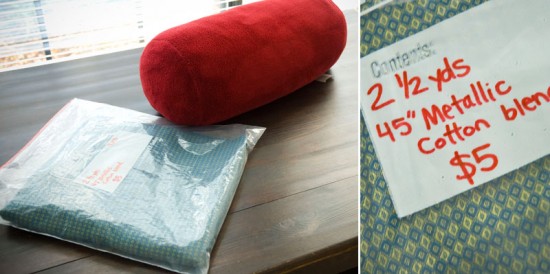
You’ll need a neckroll to cover, a yard or less—provided your neckroll is standard size, but more if it’s huge—of some kind of sturdyish material (I got this kickass woven cotton for a pittance at the Beehive‘s fall Warehouse Sale), coordinating thread, and a couple of feet of ribbon or cording. You’ll be using a sewing machine, pins, and optionally, a serger, if you have access to one and like your edges to be finished extra nicely. You’ll also need a safety pin. Just one. And a hand-sewing needle, which you will barely touch.
Oh right, and a measuring tape.
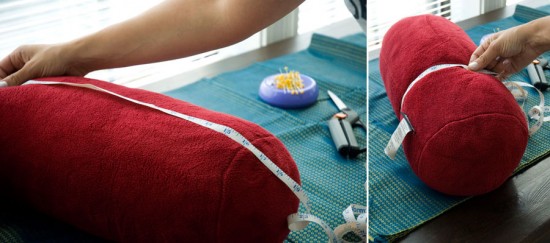
You need to know how long you neckroll is from edge-seam to edge-seam (L), the circumference/distance around (C), and the radius of the circle at the end (r), also known as half the distance across the circle, or how far it is from the edge-seam to the very center of the circle.
When you measure the circumference, pull the tape measure about as tight as you think you’d like your pillow cover to fit. A tighter fit means fewer lumps and wrinkles, but the tighter you bind the pillow, the less cushy the pillow will be. So choose, you know, a comfy, medium-tight snugness.
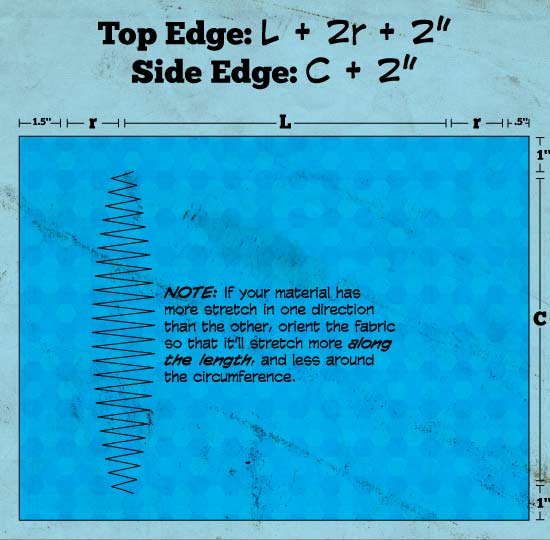
Cut a rectangle out of your fabric by plugging your measurements into this formula (in inches): (L+2r+2) x (C+2).

If you have a serger, go to town on the edges to be double-safe that there will be no unraveling. If you don’t have a serger and your fabric doesn’t seem unravely, skip this and don’t worry yourself about it. If your fabric does seem unravely, you can hit it with some kind of fray blocker, like this. It’s not a product I’ve used before, but I’ve heard of other people using it, and they seem to be living reasonably happy lives.
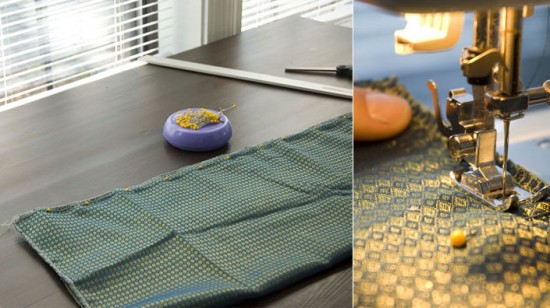
Once your edges are safe, fold your fabric in half lengthwise (so that the fold bissects the C+2 measurement, and the L+2r+2 edges are touching) with right sides facing, pin, and sew with a 1″ seam allowance, almost to the end. Leave about 1″ open on the second end. Be sure to lock both ends of your seam securely by reverse-stitching over the first and last inch of the seam at least a couple of times. The girth of the pillow will be putting pressure on this seam, so it’s important to make it a formidable one.
Now you should have a tube, albeit a tube with a flappy 1″ split on one end.
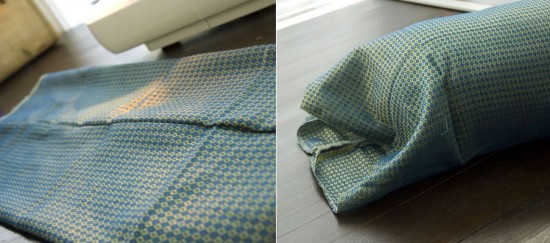
Turn your material right side out and check the fit by shoving your neckroll in. If it fits, continue! If, on the other hand, you don’t like the fit, do a little soul-searching and resew the seam if necessary.
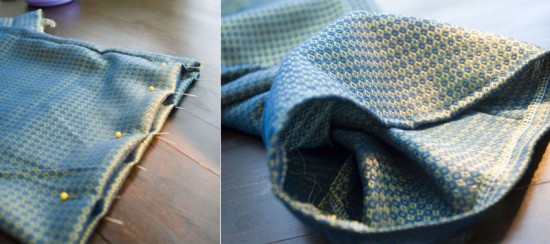
Fold 1/2″ under on one end of your tube—the end with the seam that goes all the way to the end. (That is, not the end where you left 1″ open at the end of the seam when you sewed the tube. Leave that end alone for now.) Pin down this little edge and sew it down.
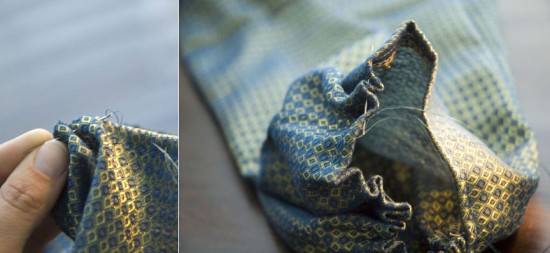
Thread your needle and sew a gathering stitch (you know, like a very long basic running stitch) all the way around the newly-hemmed end of the tube, very close to the edge.
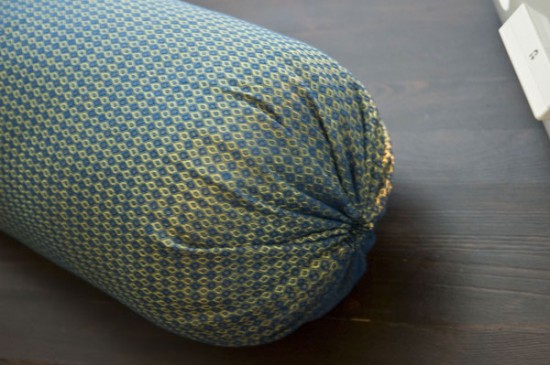
When you’ve stitched all the way around, pull the thread as tight as possible, then knot the two ends of the thread very, very securely together (lots of knots!) and weave the ends in behind the fabric to hide them.
On the other end of the fabric, the end where you left the 1″ open at the end of the seam, tuck under and pin the same way you did the first end, except this time, fold over 1.5″ instead of just half an inch. The idea here is to make a 1″ casing for a drawstring, so when you sew this down, sew it half an inch from the edge of the fabric, making a 1″ wide hem on this end of the tube.
Since you left 1″ open on the seam, your new 1″ hem should have a half-inch opening right where the tube-seam meets. It may be hidden by the overlapping layers, but it’s there! And that’s where you’re going to put in the drawstring.
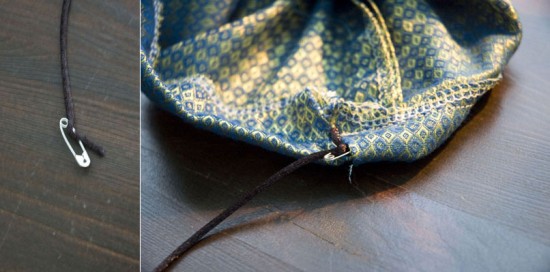
Attach one end of your cording to a safety pin, then feed the safety pin through the casing until it comes out the other side. Without pulling on the cord yet, refasten the safety pin to both ends of the cord, to ensure that the other end won’t slip into the casing and out of your reach.
Cram the pillow inside the case. It should resemble Maru in a paper bag.
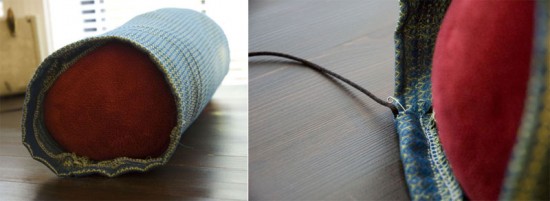
Remove the safety pin, pull the cord very, very tight, and tie it in a big knot. You want to be able to unfasten this knot if someday you feel compelled to wash the pillowcase, but you don’t want it coming undone under its own power, so a double-knotted bow is ideal.
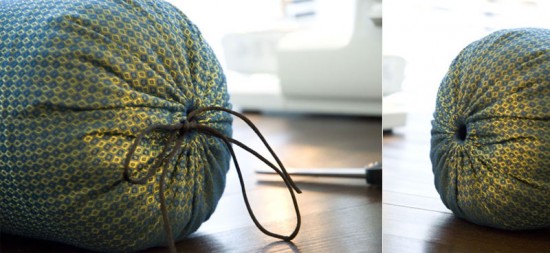
Stuff the knot inside the gap until all the cord has disappeared, leaving only a lovely end that matches the other lovely end, with no indication that this beautiful new pillow can be converted to that old boring pillow just by pulling a string.
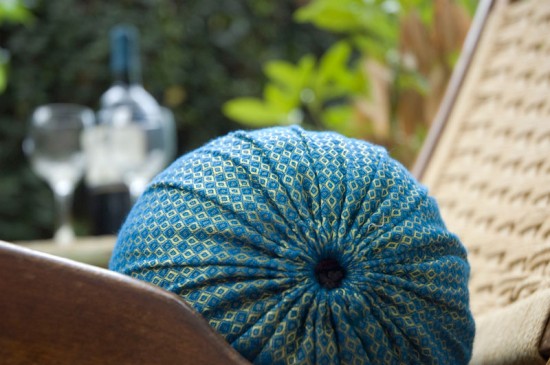
Your new pillowcase is awesome and beautiful and elegant, and you can wash it according to the care instructions on whatever fabric you used (of course, hand washing is always safest if you aren’t sure of your sewing skills). The hardest part is not yanking the pillow out of the case to show off your work every time someone admires how nice it looks.

